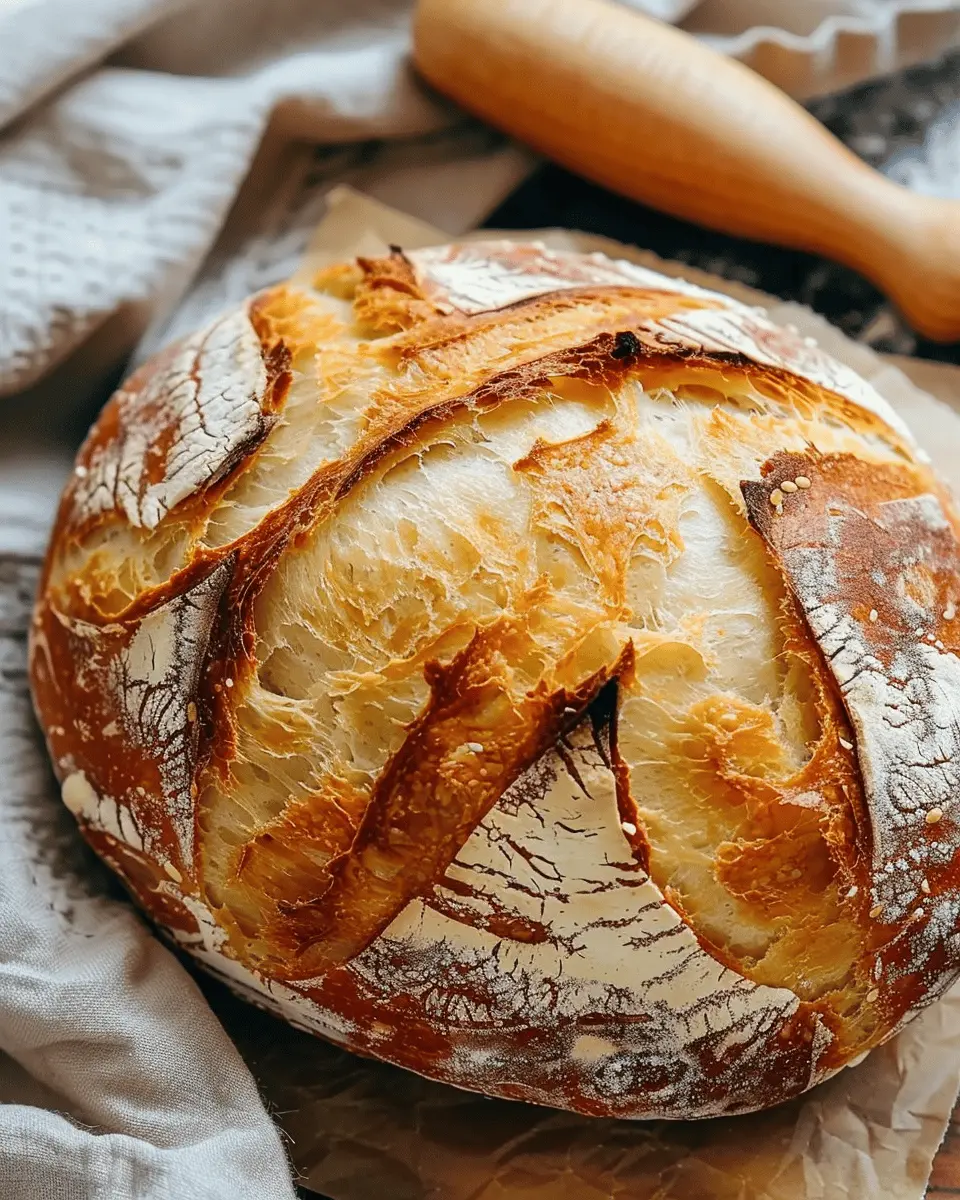
Introduction to Homemade Bread
When you think of a homemade bread recipe, it might conjure up images of an old-fashioned kitchen or a massive flour-covered countertop. But for young professionals juggling busy schedules and endless responsibilities, making bread at home can be a total game-changer. Why? Let’s dive in.
Why Homemade Bread is a Game-Changer for Young Professionals
Healthier Choices: Nowadays, we’re all striving for healthier eating habits, but it can be tough when life gets busy. Homemade bread allows you to control the ingredients, ensuring you’re avoiding unnecessary preservatives and additives. And let’s be honest, the smell of fresh bread baking is one of life’s small joys!
Cost-Effective: Store-bought artisanal loaves can set you back quite a bit. Did you know that making your own bread can be significantly cheaper? When you buy flour, yeast, and a few basic ingredients in bulk, you’re building the foundation of countless delicious loaves without breaking the bank.
Customizable Flavors: Ever wish your sandwich bread had a touch of rosemary or maybe a hint of garlic? With a homemade bread recipe, the flavor possibilities are endless! You can experiment with different herbs, spices, and even add ins like nuts or dried fruits. The result? A loaf that’s uniquely yours.
Stress Relief: In our fast-paced world, carving out some time for yourself can make a huge difference. Kneading dough is surprisingly therapeutic—it’s a moment where you can unplug and focus solely on the present. Plus, there’s something special about creating food from scratch that can boost your mood.
To get started with your homemade journey, check out resources from The Kitchn or King Arthur Baking Company for tips and tricks! Whether you’re preparing a hearty sandwich for lunch or enjoying slices with some fresh turkey bacon at breakfast, making your own bread can be a fulfilling and economical choice.
So, if you’re looking for a way to elevate your culinary game while also enjoying the simple pleasures of life, it’s time to roll up your sleeves, grab that flour, and get started on your very own homemade bread adventure!
Ingredients for Easy Homemade Bread
Essential components for perfect homemade bread
When embarking on your homemade bread journey, you’ll want to gather a few essential ingredients that form the backbone of a great loaf. Here’s what you’ll need:
- Flour: All-purpose flour works well, but bread flour gives your loaf a lovely chewy texture.
- Water: Aim for lukewarm water, as it helps activate the yeast effectively.
- Yeast: Instant yeast or active dry yeast will both do the trick, helping your bread rise perfectly.
- Salt: A crucial flavor enhancer, salt also strengthens the dough structure.
- Sugar: Just a touch of sugar feeds the yeast and adds a hint of sweetness.
These foundational elements are key to nailing your homemade bread recipe and achieving that desired fluffy texture.
Optional ingredients for flavor enhancement
Want to take your bread to the next level? Consider adding a few optional ingredients:
- Olive Oil or Butter: These fats enrich the dough, creating a softer crumb.
- Herbs or Spices: Rosemary, thyme, or garlic powder can introduce bold flavors.
- Seeds: Poppy, sesame, or flaxseeds add a delightful crunch and nutrition.
Experimenting with these ingredients can transform a basic loaf into something extraordinary. So, grab your apron and enjoy baking!
Preparing Easy Homemade Bread
Making your own bread at home can seem daunting, but trust me, it’s easier than you think! With just a few ingredients and some attention, you can create a warm, delicious loaf that will elevate any meal. Let’s guide you through this simple and rewarding process.
Gather Your Ingredients and Tools
Before diving into the homemade bread recipe, preparation is key. Gather the following ingredients:
- 4 cups all-purpose flour
- 1 packet (2 ¼ teaspoons) active dry yeast
- 1 tablespoon sugar
- 1 tablespoon salt
- 1 ½ cups lukewarm water (around 110°F)
- 2 tablespoons olive oil (optional)
And as for tools, make sure you have:
- A large mixing bowl
- A wooden spoon or spatula
- A clean surface for kneading
- A sharp knife or bread cutter
- A baking sheet or loaf pan
Mix the Dry Ingredients Thoroughly
In your mixing bowl, combine the all-purpose flour, active dry yeast, sugar, and salt. Mixing these dry ingredients together ensures that the yeast activates evenly when it meets the liquid. Remember, even a simple aspect like properly mixing can make a significant difference in the outcome of your bread.
Create the Dough by Adding Liquids
Once you’ve mixed your dry ingredients, it’s time to add the liquids! Pour in that lukewarm water and the olive oil (if using). Using your wooden spoon, stir until the ingredients come together. The dough should be moist but not too sticky. If it sticks to your fingers excessively, feel free to add a bit more flour until you reach the desired consistency.
Knead the Dough for That Perfect Texture
Now for the fun part—kneading! Sprinkle some flour on your clean surface, and transfer your dough onto it. With your palms, press the dough away and then fold it over on itself. Repeat this process for about 8-10 minutes. You’re looking for a smooth, elastic texture that springs back when you poke it. Kneading develops the gluten, giving your bread that delightful chewy texture.
Let the Dough Rise in a Cozy Spot
After you’ve finished kneading, shape your dough into a ball and place it in a lightly greased bowl. Cover it with a damp cloth and find a warm, cozy place for it to rise—this is crucial! The dough needs to double in size, which typically takes about 1 to 2 hours. You could even preheat your oven to the lowest setting for a minute, turn it off, and place the dough inside for a cozy rising environment.
Preheat the Oven and Prepare for Baking
While your dough is rising, preheat your oven to 375°F (190°C). This temperature is ideal for creating that golden, crusty exterior we all love. If you’re using a baking stone, place that in the oven as it preheats—this will help achieve the perfect baking environment.
Shape the Dough and Give It a Second Rise
Once your dough has risen, gently punch it down to release the air bubbles. Shape it into your desired loaf shape and place it in a greased loaf pan or on a baking sheet. Cover it again and let it rise for about 30 minutes. This second rise is essential for enhancing the flavor and texture of your bread.
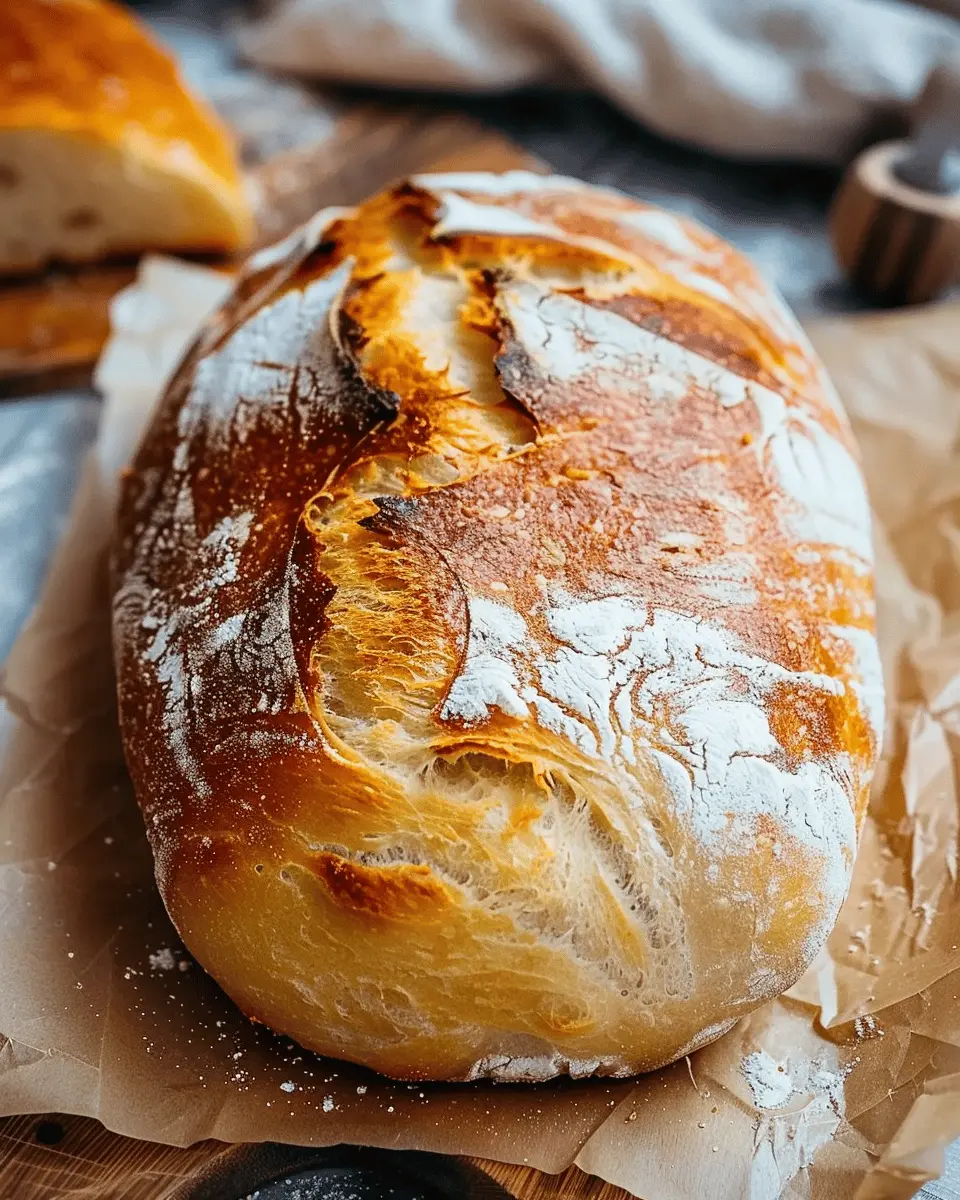
Bake the Bread Until Golden Perfection
With your oven preheated and your dough ready, it’s time for baking! Place your shaped dough in the oven and let it bake for about 25-30 minutes. You’ll know it’s done when the crust is a beautiful golden brown, and tapping the bottom of the loaf sounds hollow.
Cool the Bread and Get Ready to Slice
Once out of the oven, let your bread cool on a wire rack for at least 15 minutes. This cooling period helps finish the cooking process and allows the crumb structure to set before you slice it. The aromatic scent of fresh bread will undoubtedly entice everyone around, so make sure to enjoy a slice while it’s warm with some butter or your favorite spread.
By following these steps, your homemade bread will not only taste amazing but also be a delightful experience. For more tips and variations on this recipe, be sure to check out resources like King Arthur Baking or America’s Test Kitchen for expert advice. Happy baking!
Delicious Variations of Homemade Bread
Herb-Infused Homemade Bread
Imagine walking into your kitchen where the enticing aroma of herb-infused homemade bread envelopes you. This option takes your regular loaf to the next level by incorporating fresh or dried herbs like rosemary, thyme, or basil. Simply fold a handful of chopped herbs into your dough during the mixing process. Not only do they add incredible flavor, but they also brighten up the overall appearance of your bread.
Consider pairing your herb-infused creation with a delightful dip like olive oil and balsamic vinegar for a sophisticated appetizer. If you’re interested in exploring different herbs and their flavor profiles, check out reputable culinary sites like The Spruce Eats for some inspiration.
Whole Grain or Multigrain Options
If you’re on the quest for a healthy twist on your homemade bread recipe, whole grain or multigrain is where it’s at. These options provide more fiber and nutrients compared to traditional white bread. You can use whole wheat flour or blend various grains such as oats, millet, or barley for a heartier texture. Adding seeds like sunflower or pumpkin can give it an extra crunch while enhancing its nutritional benefits.
Research shows that whole grain consumption is linked to lower risks of heart disease and type 2 diabetes, so choosing these healthier alternatives is not just tasty but also good for you. For tips on how to incorporate different grains, consider visiting Healthline.
Each variation offers a unique experience, allowing you to experiment and find the perfect flavor profile. What will you try first?
Cooking Tips and Notes for Homemade Bread
When diving into your homemade bread recipe, a few key tips can ensure your bread turns out delightful every time.
Best practices for kneading the dough
Kneading is crucial for developing gluten, which gives your bread its structure. Aim for a consistent kneading time of about 10 minutes. You might find it helpful to use the “windowpane test”: stretch a small piece of dough; if it expands without tearing, you’re right on track!
How to ensure a good rise time
Patience is your best friend here. A good rise typically requires a warm, draft-free spot—think enclosed spaces like an oven with the light on. For even better results, cover your dough with a damp cloth or plastic wrap to retain moisture and warmth. According to experts, let your dough rise until it has doubled in size for optimal fluffiness.
Storing your homemade bread for freshness
Once your bread is baked to golden perfection, storing it properly is key. Keep it in an airtight container or a bread box to maintain its softness. If you want to extend its shelf life, consider slicing it and freezing pieces. You can easily reheat slices in a toaster for a fresh-tasting snack.
For more tips, check out resources like King Arthur Baking where the pros share their secrets!
Serving Suggestions for Homemade Bread
Perfect pairings with soups and salads
A homemade bread recipe truly shines when paired with the right dishes. Imagine sinking a slice of your warm, crusty bread into a bowl of hearty tomato basil soup or enjoying it alongside a fresh garden salad. The crusty texture complements the smoothness of soups, while the freshness of salads balances the bread’s richness. You might want to try pairing it with:
- Creamy potato leek soup
- Rustic minestrone
- A zesty Greek salad with feta and olives
These combinations not only elevate your meals but also make for a delightful dining experience.
Creative spreads for enhancing your bread experience
There’s no need to stop at butter when it comes to serving your homemade bread. Get creative! Consider these delicious spreads:
- Avocado mash seasoned with lime and chili flakes
- Hummus, which offers a healthy protein boost
- Herbed goat cheese for a sophisticated touch
Don’t forget about Turkey Bacon or Chicken Ham as savory toppings! Experimenting with these flavors can turn a simple meal into a gourmet experience. For more topping inspirations, check out sites like Fine Cooking for various ideas!
With these serving suggestions, your homemade bread will not only be a standout dish but also a conversation starter at your dining table!
Time Breakdown for Homemade Bread
Preparation Time
Getting started with your homemade bread recipe takes about 15 minutes. Gather your ingredients—like flour, yeast, and water—and mix them together. This is the fun part, as you can truly engage with your flavors.
Rising Time
Next comes the patient part: the rising time, which usually lasts around 1 to 2 hours. If you’re new to bread-making, this is where the magic happens! Watch your dough double in size, making sure it’s in a warm spot for optimal results.
Baking Time
Finally, set your oven for the grand finale! Baking time is approximately 30-40 minutes. You’ll know it’s done when the crust is golden brown and sounds hollow when tapped.
Total Time Needed
In total, expect about 2 to 3 hours to create delectable homemade bread. While it seems like a big commitment, much of that time is hands-off, allowing you to multitask or sneak in a quick Netflix episode!
For more insights, check sources like King Arthur Baking or The Spruce Eats for expert tips on bread-making.
Nutritional Facts about Homemade Bread
Caloric Content Per Slice
A slice of homemade bread typically contains about 80-100 calories, depending on the ingredients you choose. This energy boost makes it a fantastic base for various toppings, from savory spreads to fruity jams.
Nutritional Profile Overview
Homemade bread is rich in essential nutrients. Whole grains provide fiber, while ingredients like seeds and nuts can add healthy fats and protein. It also avoids the preservatives often found in store-bought options, making it a naturally wholesome choice. For a deeper dive into bread’s nutritional values, check out resources like Healthline.
Benefits of Homemade Versus Store-Bought
Making your own bread allows you to tailor the recipe to your dietary needs. You control the ingredients, enabling you to avoid additives and excess sugars. Plus, the aroma of fresh-baked bread fills your home with comfort! Have you ever craved a slice of bread just out of the oven? That’s a sensory experience only homemade bread can provide. With this homemade bread recipe, you’re not just making a loaf; you’re creating a healthier lifestyle choice!
FAQs about Homemade Bread
Making your own bread can be a rewarding adventure, but questions often come up along the way. Here are some common FAQs to guide you as you try our homemade bread recipe.
What can I do if my dough doesn’t rise?
If your dough isn’t rising, it might be due to a few factors:
- Yeast issues: Make sure your yeast is fresh. If it’s expired or not activated properly, it won’t work. You can always test it by adding it to warm water with sugar—if it bubbles, you’re good to go!
- Temperature: Yeast loves warmth! Ensure your dough is in a cozy, draft-free spot, ideally around 75°F to 80°F.
- Kneading: Insufficient kneading can affect gluten development, which is crucial for good rise. Aim for smooth and elastic dough.
Can I make gluten-free homemade bread?
Absolutely! There are many gluten-free flours available such as almond, oat, or rice flour. Be sure to include a binding agent like xanthan gum. For best results, follow a specific gluten-free homemade bread recipe to tailor the method to the unique properties of gluten-free flours.
How can I add more flavor to my bread?
Enhancing the flavor of your bread is easy! Consider these options:
- Herbs and spices: Add rosemary, thyme, or garlic powder for aromatic bread.
- Sweeteners: Honey or maple syrup can enhance sweetness, particularly for sandwich loaves.
- Cheese or nuts: Incorporating shredded cheese or chopped nuts can give your bread an exciting twist.
What are the best ways to store homemade bread?
To keep your bread fresh:
- Room Temperature: Store it in a paper bag for short-term use, or wrap it in a tea towel.
- Longer Storage: Freeze your bread in an airtight container to maintain freshness for a longer duration.
Taking the time to troubleshoot and enhance your homemade bread can lead to delicious results. For further reading on bread-making, consider checking out King Arthur Baking for detailed guides and tips. Happy baking!
Conclusion on Homemade Bread
Getting started with a homemade bread recipe can be one of the most fulfilling culinary adventures you undertake. There’s something magical about transforming simple ingredients into a warm, crusty loaf that fills your home with irresistible aromas—seriously, who can resist that? Plus, there’s a joy in crafting your own bread that you can’t find in store-bought versions.
Not only is making bread cost-effective, but it also allows you to experiment with flavors and textures. So don’t hesitate to roll up your sleeves and dive into the art of baking! Your taste buds will thank you, and you might just create a new favorite family tradition. Check out The Fresh Loaf for even more inspiration and tips on your baking journey. Happy baking!
PrintHomemade Bread Recipe: Easy Tips for Delicious Fresh Loaves
Learn how to make homemade bread with easy tips for perfect, delicious loaves.
- Prep Time: 20 minutes
- Cook Time: 35 minutes
- Total Time: 1 hour 55 minutes
- Yield: 1 loaf 1x
- Category: Bread
- Method: Baking
- Cuisine: American
- Diet: Vegetarian
Ingredients
- 4 cups all-purpose flour
- 2 teaspoons salt
- 1 tablespoon sugar
- 1 packet active dry yeast
- 1 ½ cups warm water
- 2 tablespoons olive oil
Instructions
- In a large bowl, combine warm water, sugar, and yeast. Let sit for 5-10 minutes or until frothy.
- Add flour, salt, and olive oil to the yeast mixture. Stir until a dough forms.
- Transfer dough to a floured surface and knead for about 8-10 minutes.
- Place the dough in a greased bowl, cover, and let rise for 1 hour or until doubled.
- Punch down the dough, shape it into a loaf, and place it in a greased loaf pan.
- Cover and let rise again for 30 minutes.
- Bake in a preheated oven at 375°F for 30-35 minutes.
- Cool on a wire rack before slicing.
Notes
- For extra flavor, try adding herbs or garlic to the dough.
- Make sure your water is not too hot to avoid killing the yeast.
Nutrition
- Serving Size: 1 slice
- Calories: 120
- Sugar: 1g
- Sodium: 200mg
- Fat: 3g
- Saturated Fat: 0.5g
- Unsaturated Fat: 2g
- Trans Fat: 0g
- Carbohydrates: 22g
- Fiber: 1g
- Protein: 4g
- Cholesterol: 0mg
Keywords: Homemade Bread Recipe, Easy Bread Recipe, Baking Bread