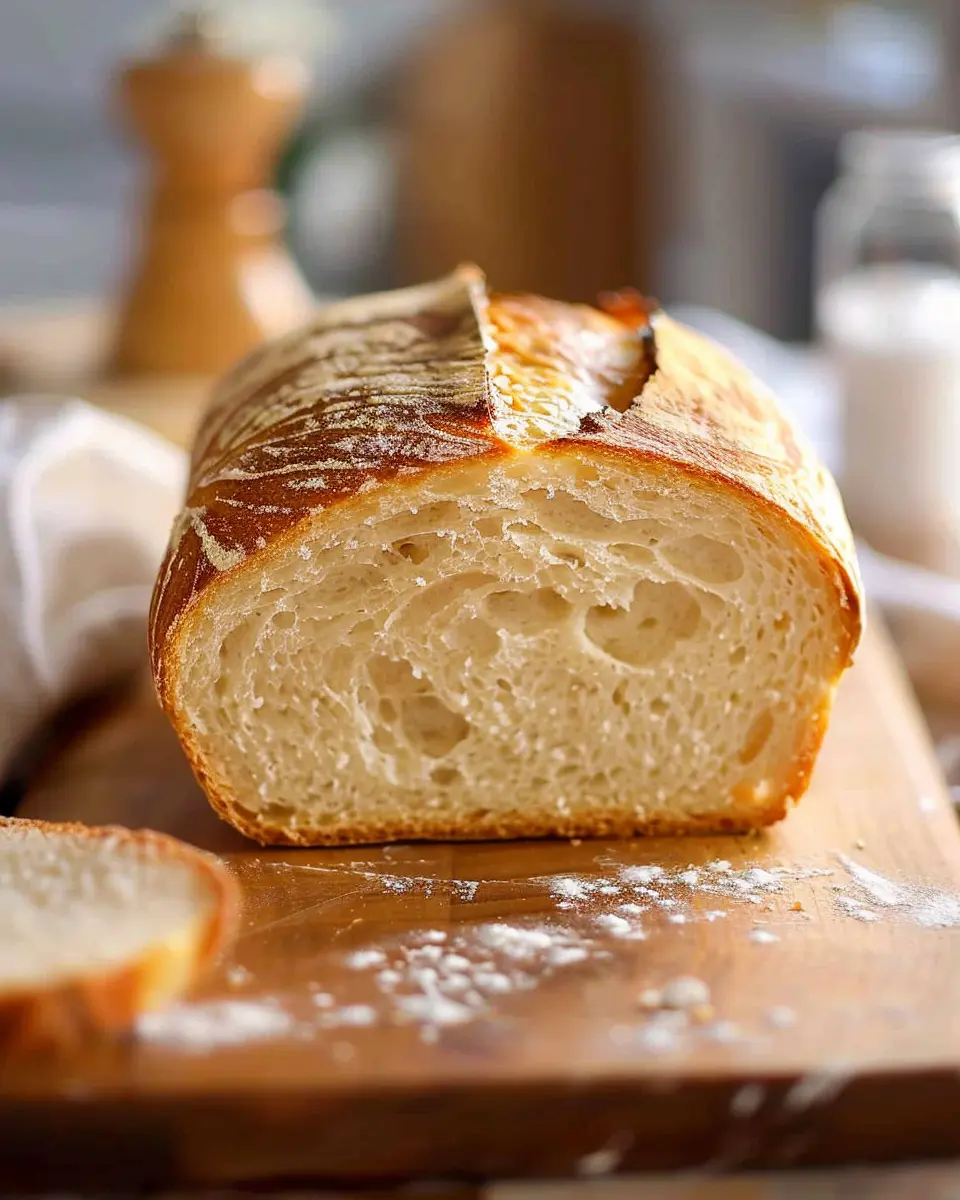
Introduction to Homemade Bread
Why Make Homemade Bread?
There’s something incredibly satisfying about pulling a loaf of freshly baked homemade bread from the oven, its warm aroma filling your kitchen. But why should you consider making your own bread? Here are a few compelling reasons:
-
Quality Ingredients: When you bake at home, you have full control over what goes into your bread. You can choose organic flour, non-GMO yeast, and even experiment with whole grains or gluten-free options. Unlike store-bought varieties, your homemade bread can be tailored to meet your dietary preferences.
-
Cost-Effective: Baking your own bread can save you money, especially if you buy ingredients in bulk. A basic loaf can cost under a dollar to make, while artisanal loaves at bakeries can quickly add up. Plus, creating your own unique flavors means you won’t find yourself paying a premium for something you can easily whip up at home.
-
Therapeutic Experience: There’s a certain zen-like quality to kneading dough that can be very relaxing. Many people find that baking allows them to slow down, focus, and connect with the process. If you’re feeling stressed, taking some time to make a loaf of homemade bread could be just what you need!
But don’t just take my word for it; a survey from the American Bakers Association indicates that many people find baking to be a fulfilling and enjoyable activity that also breeds creativity.
Building Connections
Baking bread is also a fantastic way to bring people together. Whether you’re sharing slices with friends or hosting a cozy dinner, there’s something about homemade bread that feels inviting. A warm loaf pairs beautifully with all types of toppings, from turkey bacon and chicken ham to vibrant spreads and cheeses.
So, whether you’re a seasoned pro or a complete novice, making your own bread can be a rewarding adventure. Why not embrace the comforting process and enjoy the delicious results? Join me in exploring this delightful culinary journey where we’ll learn the basics of creating the perfect loaf—because nothing quite compares to homemade bread.
Ingredients for Homemade Bread
Essential pantry staples
When it comes to crafting the perfect homemade bread, you want to ensure you have the right essentials on hand. Here’s what you’ll need:
- Flour: All-purpose flour is a great start, but you can experiment with bread flour for a chewier texture.
- Yeast: Active dry yeast is commonly used, but instant yeast can also save you time.
- Water: Lukewarm water activates the yeast—ideal temperature is around 100°F.
- Salt: Essential for seasoning and controlling yeast activity.
- Sugar: Just a teaspoon helps to feed the yeast and enhance flavor.
These ingredients form the foundation for your homemade bread.
Optional ingredients for added flavor
Want to elevate your loaf? Consider these optional ingredients:
- Olive oil: Adds richness and a lovely crust.
- Herbs and spices: Rosemary or garlic powder can give your bread an aromatic twist.
- Seeds or nuts: Chia seeds or walnuts add texture and nutrition.
- Milk or butter: For a softer crumb and added flavor.
Incorporating these can turn your basic bread into a delightful masterpiece. For more tips on ingredient variations, check out King Arthur Baking for great suggestions and inspiration!
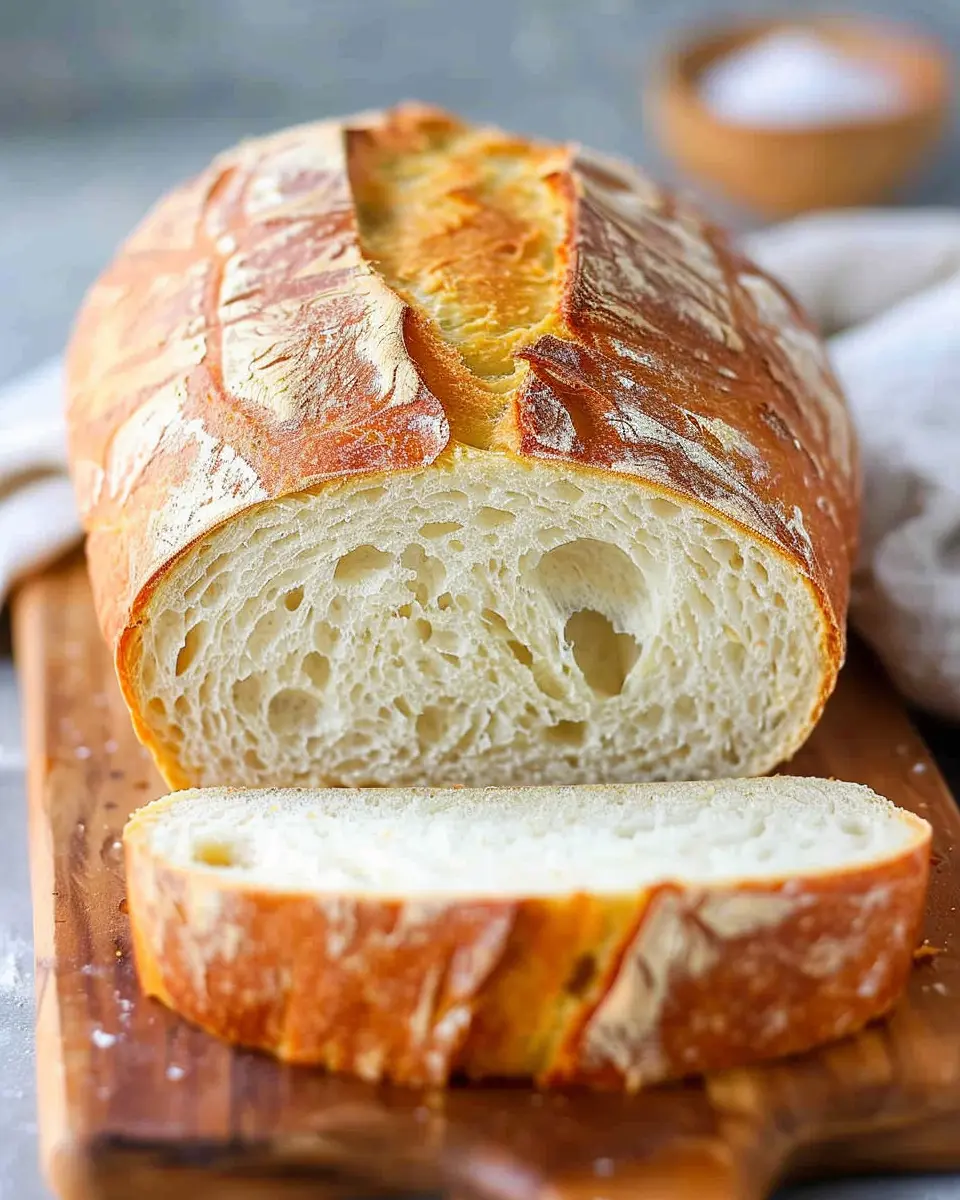
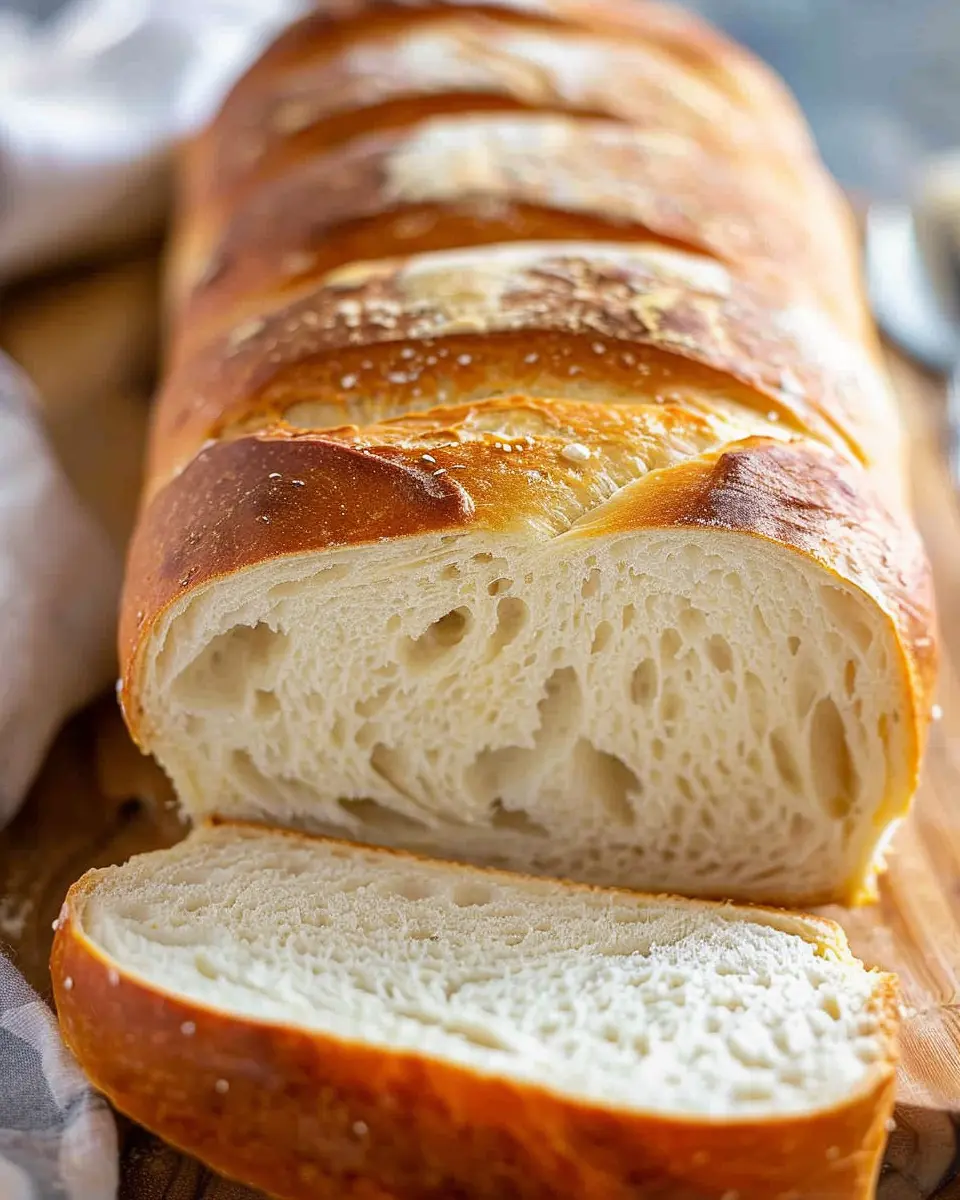
Step-by-step Preparation of Homemade Bread
Baking homemade bread is a rewarding process that fills your home with an inviting aroma and provides a delicious treat for you and your loved ones. Let’s break down the simple steps to create your own loaf of bread from scratch.
Prepare the Dough
First, gather your ingredients — you will need:
- 4 cups all-purpose flour
- 2 teaspoons salt
- 1 tablespoon sugar
- 2 teaspoons active dry yeast
- 1 and ½ cups warm water (around 110°F)
- 2 tablespoons olive oil
Start by mixing the warm water, sugar, and yeast in a large bowl. Let it sit for about 5 to 10 minutes until it becomes frothy. This means the yeast is activated and ready to work its magic! In a separate bowl, combine the flour and salt. Once the yeast mixture is ready, create a well in the flour and pour in the yeast mixture and olive oil. Stir everything together until it forms a rough dough.
Knead the Dough
This step is where your dough gets some love! Transfer the dough to a lightly floured surface and start kneading. Kneading helps develop the gluten, giving your homemade bread that wonderful structure.
- Push the dough away from you with the heel of your hand.
- Fold it back over itself.
- Rotate it a quarter turn and repeat.
Knead for about 8-10 minutes, until the dough is smooth and elastic. You can perform the “windowpane test” — stretch a small piece of dough between your fingers; it should form a thin film without tearing. If it tears easily, keep kneading!
First Rise of the Dough
Now it’s time to let that dough rise and double in size! Lightly oil a clean bowl and place your kneaded dough inside, turning it to coat in oil. Cover it with a damp kitchen towel or plastic wrap and let it rise in a warm, draft-free area for about 1-2 hours. The dough should at least double in size.
Pro tip: An ideal spot is in your oven with just the light on. This creates a cozy environment for yeast growth!
Shape and Prepare for the Second Rise
After the first rise, it’s time to punch down the dough — this is surprisingly satisfying! Gently press the dough to release the gases and transfer it back to your floured surface. Shape it into a loaf or your desired form for baking.
Once shaped, place the dough in a greased loaf pan or on a baking sheet, depending on the form you chose. Cover it again and let it rise for another 30-45 minutes. This second rise is crucial for achieving that light and fluffy texture delicious homemade bread is known for.
Bake the Bread
Finally, it’s baking time! Preheat your oven to 375°F (190°C). When ready, bake your bread in the preheated oven for about 25-30 minutes. It’s done when the top is golden brown and sounds hollow when tapped.
For an extra touch, you can brush the top with melted butter right after pulling it out of the oven, giving it a beautiful sheen and adding moisture. Let the bread cool on a wire rack before slicing.
Baking homemade bread from scratch may seem daunting at first, but remember, practice makes perfect! The satisfaction of enjoying your own fresh bread is unsurpassed. If you want to deepen your bread-making skills, consider checking out resources like the King Arthur Baking Company for more tips and tricks.
So roll up your sleeves, and let’s get baking! What’s your favorite thing to pair with homemade bread?
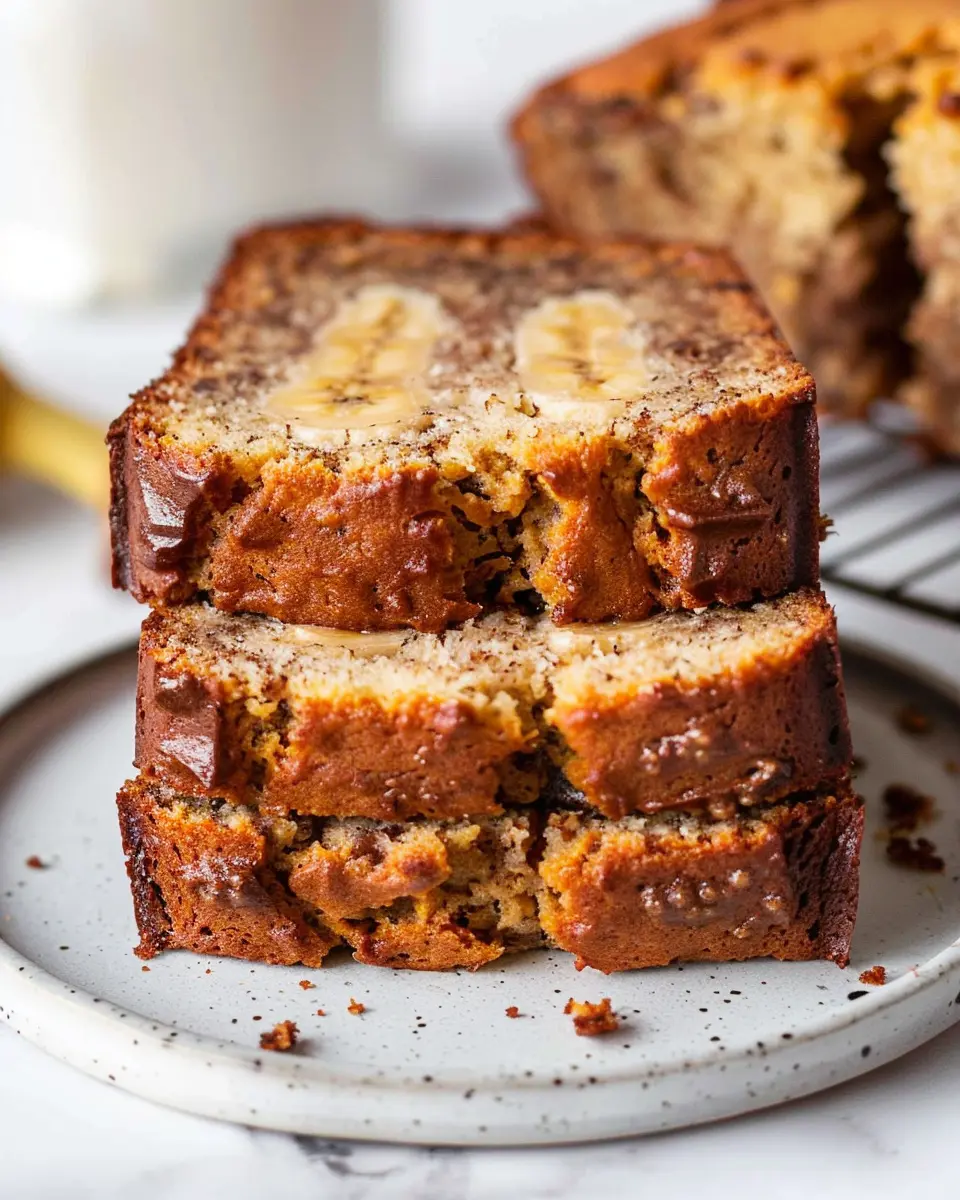
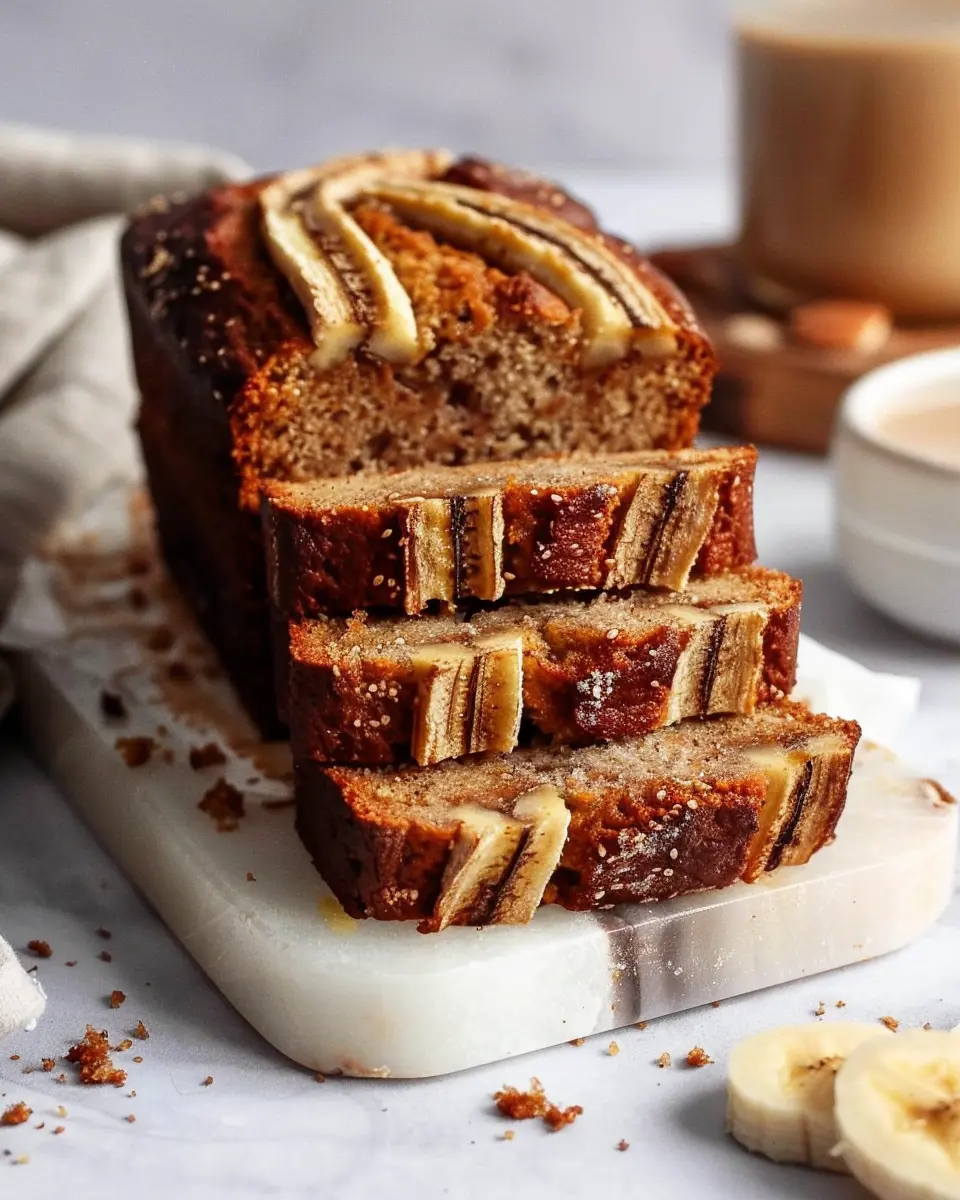
Variations on Homemade Bread
Homemade bread is a delightful canvas for creativity. Whether you’re a novice baker or an experienced pro, experimenting with variations can elevate your bread-making game. Let’s explore a few enticing options!
Honey Whole Wheat Bread
Using honey not only sweetens but also adds moisture, making your bread perfect for sandwiches or toast. To make this variant, simply substitute part of the all-purpose flour with whole wheat flour (about 50% is a great start). Mix in about 1/4 cup of honey while you’re combining wet ingredients. This bread will have a subtly sweet flavor profile, perfect with chicken ham or turkey bacon on a breakfast sandwich. If you’re interested in more health-focused bread recipes, check out Whole Grains Council.
Herb-Infused Homemade Bread
Imagine pulling a loaf of warm bread infused with your favorite herbs right out of the oven! For this variation, consider incorporating fresh herbs like rosemary, thyme, or basil into your dough. Simply chop the herbs finely and mix them into your dry ingredients. This creates a fragrant bread that pairs beautifully with soups or salads. Want to know how herbs can boost your mood? Explore findings from the University of Maryland’s Center for Integrative Medicine.
Sourdough Bread Basics
If you’re looking to dive into sourdough, you’ll need a starter, which add complexity and flavor to your loaf. Start by mixing equal parts flour and water to discover the art of fermentation. If you’re patient and care for your starter, it can last for years! Plus, sourdough is easier on the digestive system due to its naturally fermented nature. Just think about all those delicious toasts topped with avocado or even chicken ham.
Each of these homemade bread variations adds a unique twist, ensuring your baking journey stays exciting. Happy baking!
Cooking Tips and Notes for Homemade Bread
Tips for perfecting your dough
Achieving the perfect dough for your homemade bread is key. Start with fresh ingredients—quality flour makes a difference. Make sure your water is lukewarm, as too hot can kill the yeast. Knead your dough until it’s smooth and elastic; this usually takes about 10 minutes by hand or 5-7 minutes in a stand mixer. For an extra flavor boost, let your dough rise slowly in the refrigerator overnight.
Common mistakes to avoid
There are a few common pitfalls that can derail your bread-making journey:
- Too much flour: Adding too much can lead to a dry loaf. Always measure your flour accurately, preferably with a kitchen scale.
- Skipping the rise: Patience is key! Allow the dough ample time to rise and double in size for the best texture.
How to troubleshoot bread problems
Bread not rising? Check the expiration date on your yeast. Bad yeast will make it tough for your dough to rise. If your loaf is too dense, it may be under-kneaded or not risen long enough. If you encounter problems, don’t hesitate to consult experts, like those at King Arthur Baking for reliable advice.
By keeping these tips in mind, your homemade bread experience will be smoother and more enjoyable! Happy baking!
Serving Suggestions for Homemade Bread
Best toppings and spreads
When it comes to homemade bread, the possibilities for toppings and spreads are endless! You can enhance the warm, fresh flavor with a variety of options:
- Butter and Herbs: Spread a generous pat of butter on a slice and sprinkle it with fresh herbs like rosemary or thyme.
- Cream Cheese with Chives: A classic combo that pairs wonderfully with the bread’s texture.
- Avocado Toast: Mash up some ripe avocados with a dash of lemon and season to taste. Top with slices of turkey bacon for added goodness!
- Nut Butters: Go for almond or peanut butter topped with bananas or honey for a quick breakfast or snack.
Pairing with soups and salads
Homemade bread truly shines when served alongside comforting soups and vibrant salads. Think about classic pairings like:
- Tomato Basil Soup: The acidity of the tomatoes and the savory herbs complement the bread beautifully.
- Vegetable or Chicken Stock-Based Soups: The heartiness of the bread soaks up the flavorful broth, creating a delicious dish.
- Fresh Garden Salad: A crunchy, refreshing salad filled with greens, cucumbers, and a zesty vinaigrette pairs nicely with the bread’s texture.
Whether you’re cozying up with a bowl of soup or enjoying a light salad, homemade bread is the perfect companion. If you’re looking to elevate your meal, check out this informative article from BBC Good Food for more ideas on soup recipes.
With such diverse serving suggestions, your homemade bread will be the star of any meal!
Time Breakdown for Homemade Bread
When diving into the world of homemade bread, understanding the time involved can help you plan better and enjoy the process. Let’s break it down!
Preparation Time
You’ll spend about 15 to 20 minutes gathering ingredients and mixing dough. This is where the magic begins, and you can customize your bread with herbs or seeds if you like.
Rising Time
Once mixed, the dough needs to rise for about 1 to 2 hours. This step is crucial for developing that lovely texture. Feel free to use this time to catch up on your favorite show!
Baking Time
The actual baking will take around 30 to 40 minutes. The aroma that fills your home will be worth the wait!
Total Time
In total, you’re looking at around 2 to 3 hours from start to finish, not counting any additional time for a second rise if you choose. So, grab your ingredients and let’s make some delicious homemade bread! If you’re curious, check out more about bread making at King Arthur Baking for in-depth tips.
Nutritional Facts for Homemade Bread
Calories per slice
One slice of homemade bread typically contains around 80-100 calories, depending on the ingredients used. This means you can enjoy your sandwich or toast without feeling guilty about indulging in those tasty carbs.
Macronutrient breakdown
When it comes to macronutrients, homemade bread tends to deliver a balanced mix:
- Carbohydrates: Approximately 15-20 grams per slice
- Proteins: About 3-5 grams, making it a decent source of energy
- Fats: Generally around 1-2 grams, depending on whether you use oils or fats in your recipe
These variations allow you to tweak your recipe for more fiber or protein based on your dietary needs.
Storage recommendations
To keep your homemade bread fresh, store it in an airtight container at room temperature for up to three days. For longer storage, consider freezing slices. Just wrap them individually in plastic wrap, then place them in a freezer bag to retain flavor and moisture. When you’re ready, simply toast or leave out slices to thaw.
For more details on bread preservation, check out this resource from the Bread Bakers Guild. It’s a treasure trove of advice for both novice and seasoned bakers!
FAQ about Homemade Bread
Why is my bread dense?
One common reason your homemade bread might turn out dense is insufficient gluten development. This can happen if the dough hasn’t been kneaded long enough or if you’ve used too much flour. To fix this, try:
- Kneading longer: Aim for about 10 minutes until the dough is smooth and elastic.
- Measuring flour correctly: Use the spoon-and-level method to prevent adding too much. For a deeper dive into bread-making techniques, check out King Arthur Baking’s guide.
Can I freeze homemade bread?
Absolutely! Freezing is a great way to preserve the freshness of your homemade bread. Here’s how to do it right:
- Let the bread cool completely.
- Wrap it tightly in plastic wrap or foil, then place it in a freezer bag.
- When ready to use, thaw in the refrigerator or at room temperature for several hours. For an extra touch, you can reheat it in the oven for that freshly-baked texture!
How do I make my bread last longer?
If you’re looking to keep your homemade bread fresh, consider these tips:
- Store properly: Keep it in a cool, dry place in a bread box or paper bag to prevent mold. Avoid plastic bags if you can, as they trap moisture.
- Use preservatives: Ingredients like vinegar can extend shelf life naturally.
- Slice before storing: If you slice your bread ahead of time, you can toast individual pieces without defrosting the entire loaf.
With these tips, you’re well on your way to becoming a bread-making pro! Don’t hesitate to share your experiences or ask questions in the comments—community support makes baking even more enjoyable.
Conclusion on Homemade Bread
Final thoughts on the joys of baking bread
Baking homemade bread is more than just a culinary task—it’s a delightful journey filled with aromatic experiences and satisfying moments. There’s something incredibly fulfilling about transforming simple ingredients like flour, water, and yeast into a warm, crusty loaf. This process not only nourishes our bodies but also allows us to express creativity in the kitchen.
Imagine the joy of sharing a slice with friends over coffee or enjoying it fresh out of the oven with your favorite spread. Plus, studies show that engaging in cooking activities can reduce stress levels (American Psychological Association). So why not embark on this delicious venture? Your kitchen awaits the magic of homemade bread!
PrintHomemade Bread: Easy Recipes for Flavorful Family Meals
Learn how to make delicious homemade bread that the whole family will enjoy. Perfect for any meal!
- Prep Time: 15 minutes
- Cook Time: 30 minutes
- Total Time: 1 hour 45 minutes
- Yield: 1 loaf 1x
- Category: Baking
- Method: Baking
- Cuisine: American
- Diet: Vegetarian
Ingredients
- 3 cups all-purpose flour
- 1 packet active dry yeast
- 1 tablespoon sugar
- 1 teaspoon salt
- 1 cup warm water
- 2 tablespoons olive oil
Instructions
- In a large bowl, combine flour, yeast, sugar, and salt.
- Add warm water and olive oil to the mixture and stir until a dough forms.
- Knead the dough on a floured surface for about 10 minutes.
- Place the dough in a greased bowl and cover it. Let it rise for 1 hour.
- Punch down the dough and shape it into a loaf.
- Place the loaf in a greased pan and let it rise for another 30 minutes.
- Bake at 375°F (190°C) for 25-30 minutes or until golden brown.
Notes
- Ensure your water is warm, not hot, to activate the yeast.
- Experiment with adding herbs or seeds for different flavors.
Nutrition
- Serving Size: 1 slice
- Calories: 120
- Sugar: 0.5g
- Sodium: 200mg
- Fat: 3g
- Saturated Fat: 0.5g
- Unsaturated Fat: 2g
- Trans Fat: 0g
- Carbohydrates: 22g
- Fiber: 1g
- Protein: 4g
- Cholesterol: 0mg
Keywords: Homemade Bread, Bread Recipes, Family Meals