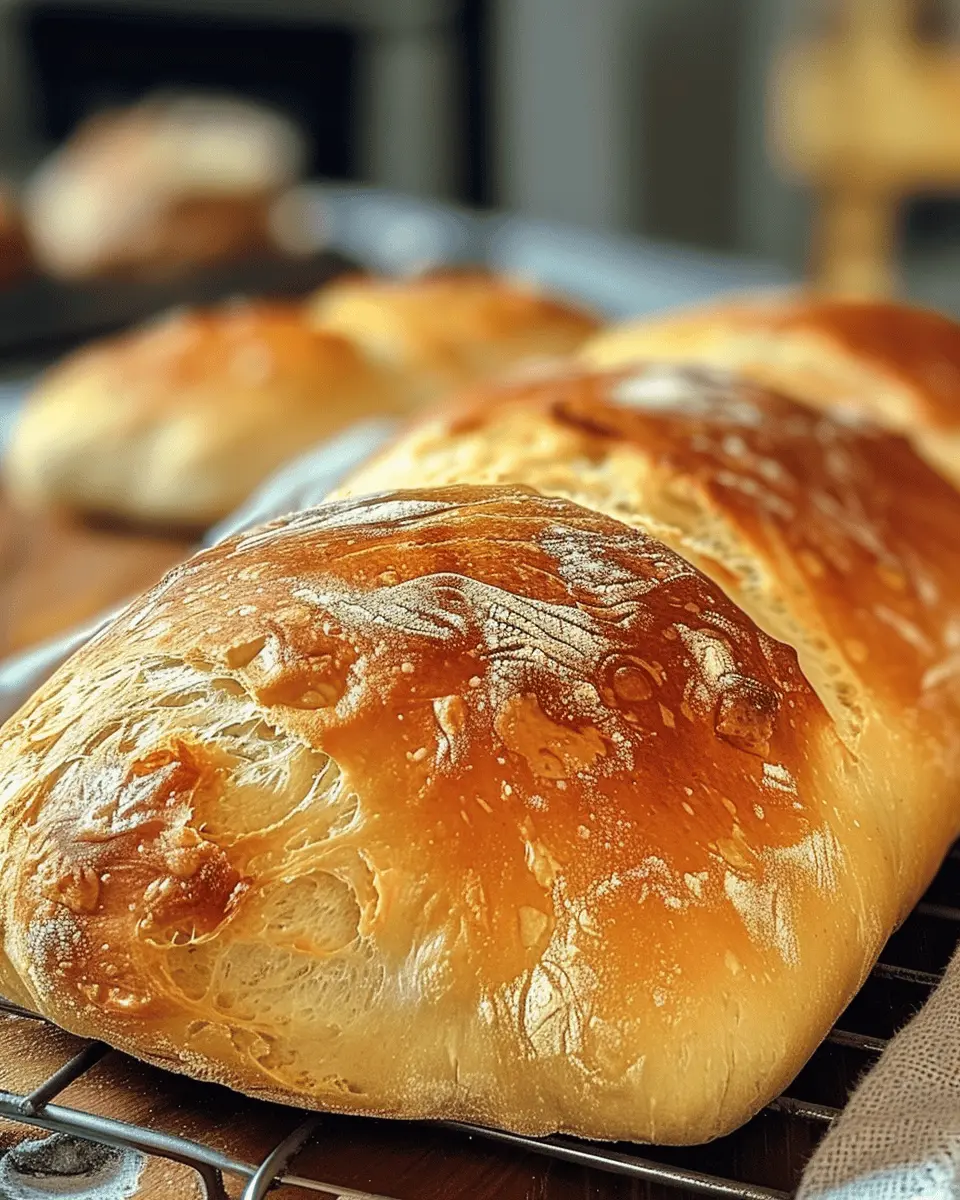
Introduction to Homemade Bread
When you think of homemade bread, what comes to mind? Perhaps the comforting aroma wafting through your kitchen, or the beautiful crust, golden and crisp? For young professionals balancing demanding careers and busy lives, making bread at home might seem like a daunting task. However, this pastime not only results in delicious loaves but also offers benefits that align perfectly with your lifestyle.
Why is homemade bread the best choice for young professionals?
Imagine coming home after a long day at work. You’re tired, but you still want a nutritious meal that doesn’t require much time to prepare. That’s where homemade bread shines. With our quick recipe, you can whip up a fresh loaf in just 20 minutes, making it an ideal choice for those on-the-go evenings.
Homemade bread also allows you to control what goes into your food, steering clear of preservatives and overly processed ingredients. This is crucial, considering that many store-bought breads contain additives that can detract from your health goals. Expert nutritionists recommend focusing on whole foods, and baking your own bread is a wonderful way to incorporate that philosophy into your routine. A recent study shows that cooking at home can boost your nutritional quality, leading to a healthier lifestyle overall.
Additionally, making homemade bread can serve as a stress-reliever. The simple act of kneading dough can be surprisingly therapeutic. As you engage in this tactile process, you might find you’re less focused on that stressful project at work! Plus, there’s something incredibly satisfying about pulling a fresh, warm loaf from the oven and sharing it with friends or enjoying it as you wind down for the day.
By investing just a small amount of time into baking, you’re creating not just meals, but memories. Whether it’s assembling sandwiches with your favorite fillings, like Turkey Bacon or Chicken Ham, or simply enjoying a slice with a warm cup of herbal tea, homemade bread elevates the experience.
In short, making homemade bread is not just about the delicious end product; it’s about nourishing both your body and your spirit. Ready to bake? Let’s dive into the recipe that brings this joy into your kitchen!
Ingredients for Quick and Easy Homemade Bread
Making homemade bread can be surprisingly simple and rewarding, especially when you can whip it up in just 20 minutes! Let’s gather the essentials to kickstart our baking adventure.
Essential Ingredients
- All-Purpose Flour: 3 cups. A staple in any kitchen, it provides the perfect base for your bread.
- Warm Water: 1 ¼ cups (about 110°F). This activates the yeast, so make sure it’s not too hot!
- Instant Yeast: 2 teaspoons. The star of the show! It makes your bread rise quickly.
- Sugar: 1 tablespoon. Just a touch to help feed the yeast and add a hint of sweetness.
- Salt: 1 teaspoon. Balances out the flavors and enhances the overall taste.
- Olive Oil: 2 tablespoons. For a richer texture and flavor; you can also use melted butter if you prefer.
Baking Tips
Remember, baking is both science and art! You can check out this comprehensive guide on bread baking for more tips and tricks. Now that you have your ingredients ready, let’s get started on your delicious journey to homemade bread!
Step-by-Step Preparation of Homemade Bread
Making homemade bread can be one of the most rewarding and comforting experiences in the kitchen. The aroma, the texture, and the satisfaction of crafting something delicious with your own hands—it’s unbeatable. So, let’s dive into the step-by-step process that will have you enjoying freshly baked bread in no time!
Gather your ingredients
Before you start, it’s essential to gather all your ingredients to ensure a smooth baking process. Here’s what you’ll need:
- 3 cups all-purpose flour
- 1 packet (2 ¼ teaspoons) instant yeast
- 1 tablespoon sugar
- 1 teaspoon salt
- 1 cup warm water (about 110°F or 45°C)
- 2 tablespoons olive oil (for flavor and moisture)
Make sure to use fresh ingredients for the best results, particularly the yeast, as old yeast can affect the rise of your homemade bread. You can find quality ingredients at your local grocery store or consider sourcing from specialty shops for a flavorful touch.
Preheat and prepare your baking pan
Now, let’s get a few things prepped! Preheat your oven to 375°F (190°C). While it heats, grab a loaf pan (a standard 9×5 inch works perfectly) and lightly grease it with some olive oil or non-stick spray. This helps prevent sticking and ensures easy removal of your beautiful bread once it’s baked.
Mix the dry ingredients
In a large mixing bowl, combine the dry ingredients: the all-purpose flour, instant yeast, sugar, and salt. Whisk them together until everything is evenly distributed. This step is crucial because it ensures that the yeast and salt work effectively together without clumping. Did you know that salt can inhibit yeast activity if added directly? Mixing helps mitigate that!
Combine wet ingredients and blend
In a separate bowl, mix the warm water and olive oil together. Gradually add this mixture to your dry ingredients. Take a moment to appreciate how the water brings the mixture to life! Use a spatula or wooden spoon to stir until the dough forms a shaggy ball. You want to see a bit of flour still clinging to the dough—that’s just fine.
Incorporate dry and wet mixtures
Now, it’s time to knead! Sprinkle a little flour on your clean countertop or table. Turn the dough out onto this surface and knead it for about 8–10 minutes. The goal is to create a smooth, elastic dough. Kneading helps develop gluten, which is what gives your homemade bread its structure and chew. If it feels sticky, add a bit more flour as you work with it.
Place batter in the pan and smooth the top
After your dough is kneaded to perfection, shape it into a loaf and place it into your prepared loaf pan. Smooth the top with your fingertips; this gives it a nice finish. Now, cover the pan with a clean kitchen towel and allow it to rise in a warm spot for about 30 minutes, or until the dough has doubled in size. Patience is key here, but the rise transforms your bread into something truly incredible!
Bake and check for doneness
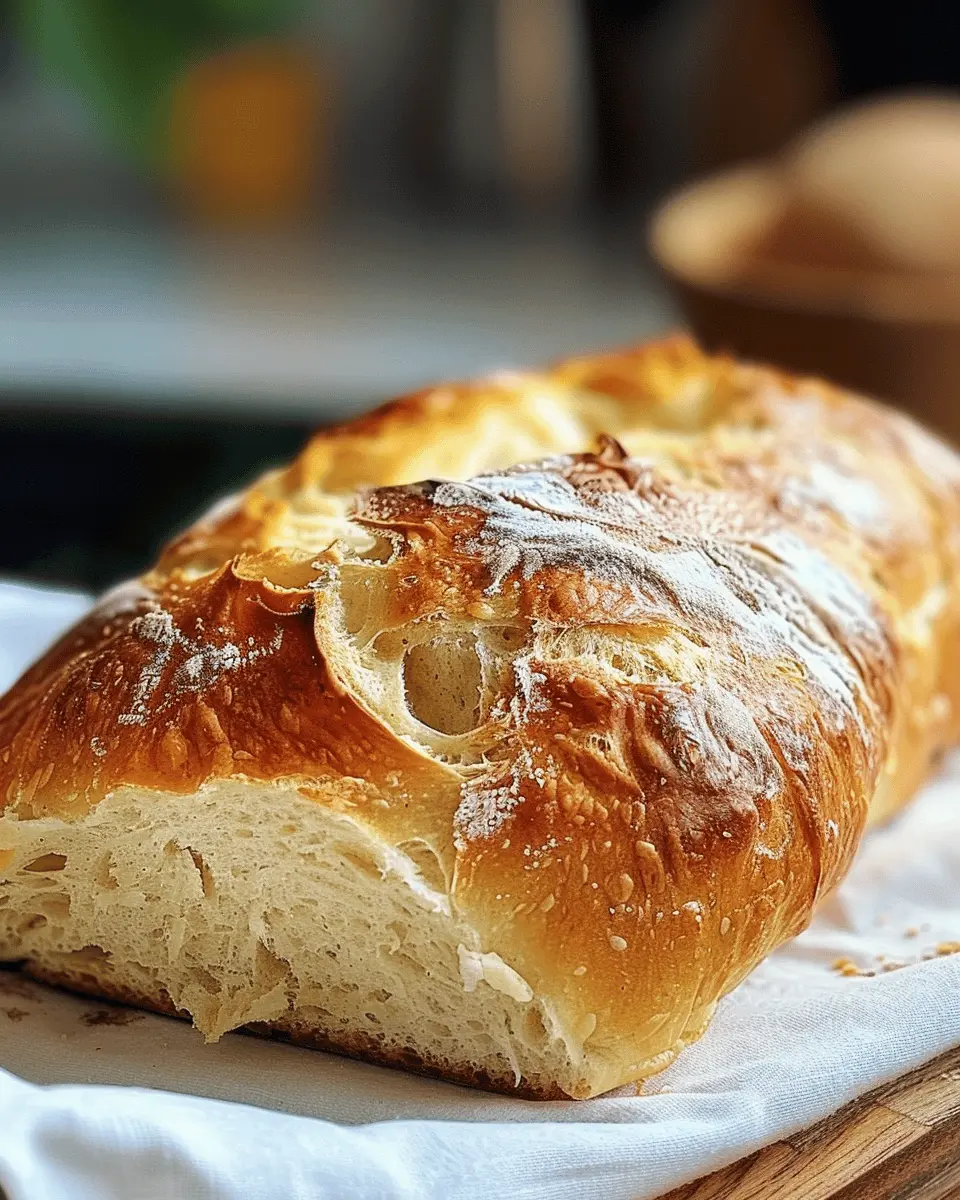
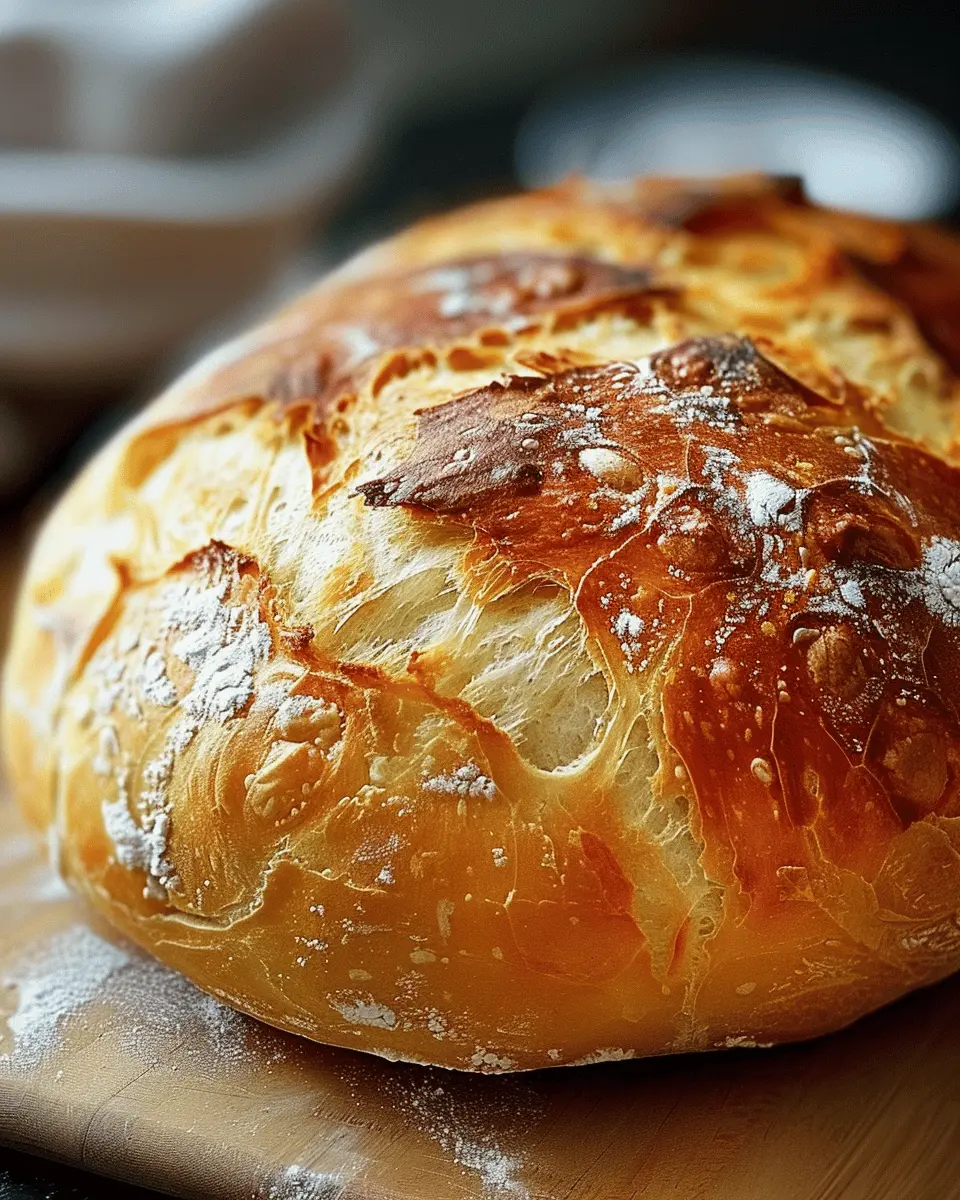
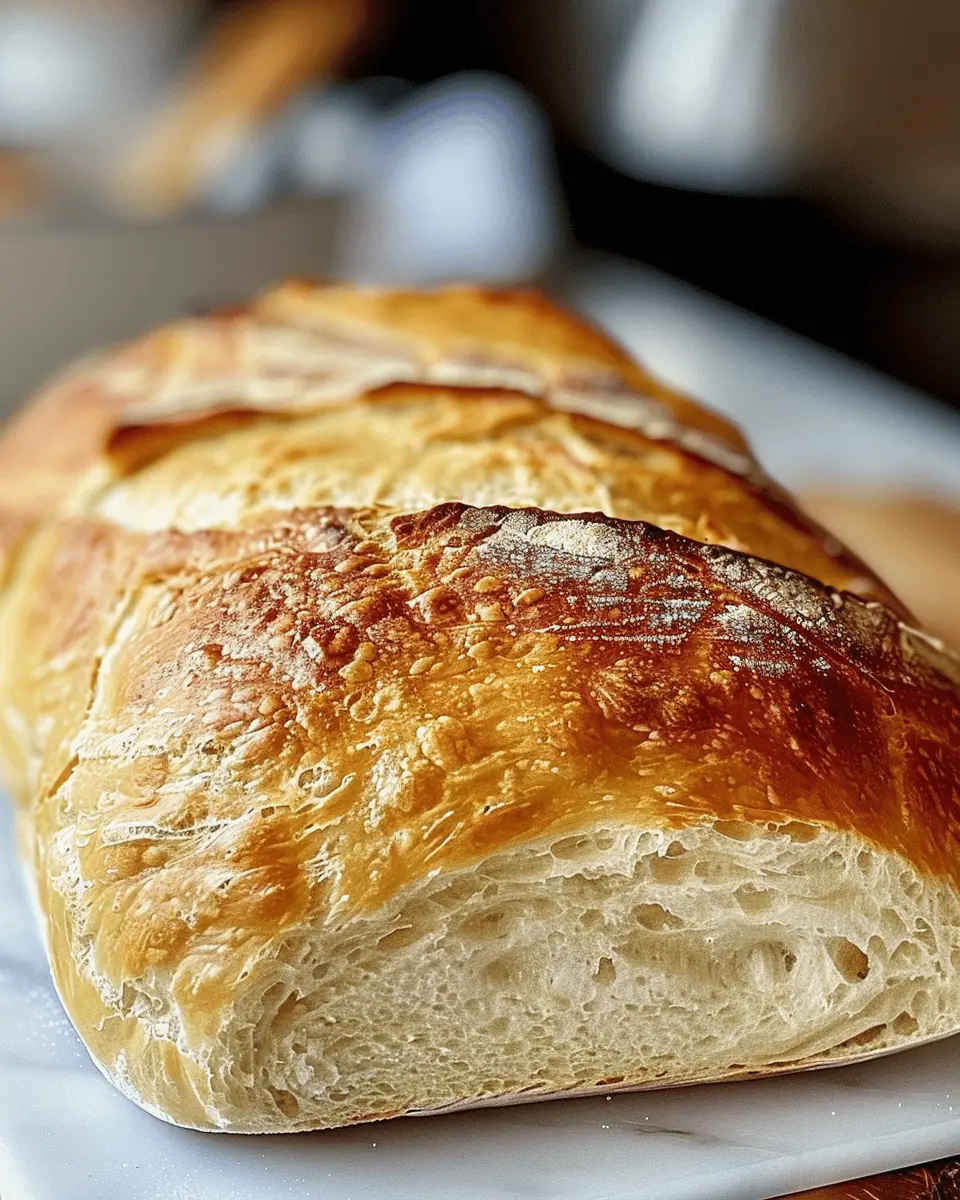
Finally, it’s time to bake! Place your loaf pan in the preheated oven and bake for 25–30 minutes. The smell is going to be heavenly! Check for doneness by tapping the bottom of the loaf; if it sounds hollow, you’re good to go. Let it cool for a few minutes in the pan before transferring it to a wire rack. This final cooling step helps set the crumb of your homemade bread.
Now that you’ve mastered this step-by-step guide, you’re not just making bread—you’re creating an experience. So, slip on your apron, enjoy the journey, and celebrate the joy of baking! For more bread tips and variations on your baking adventures, check out resources like King Arthur Baking for inspiration. Happy baking!
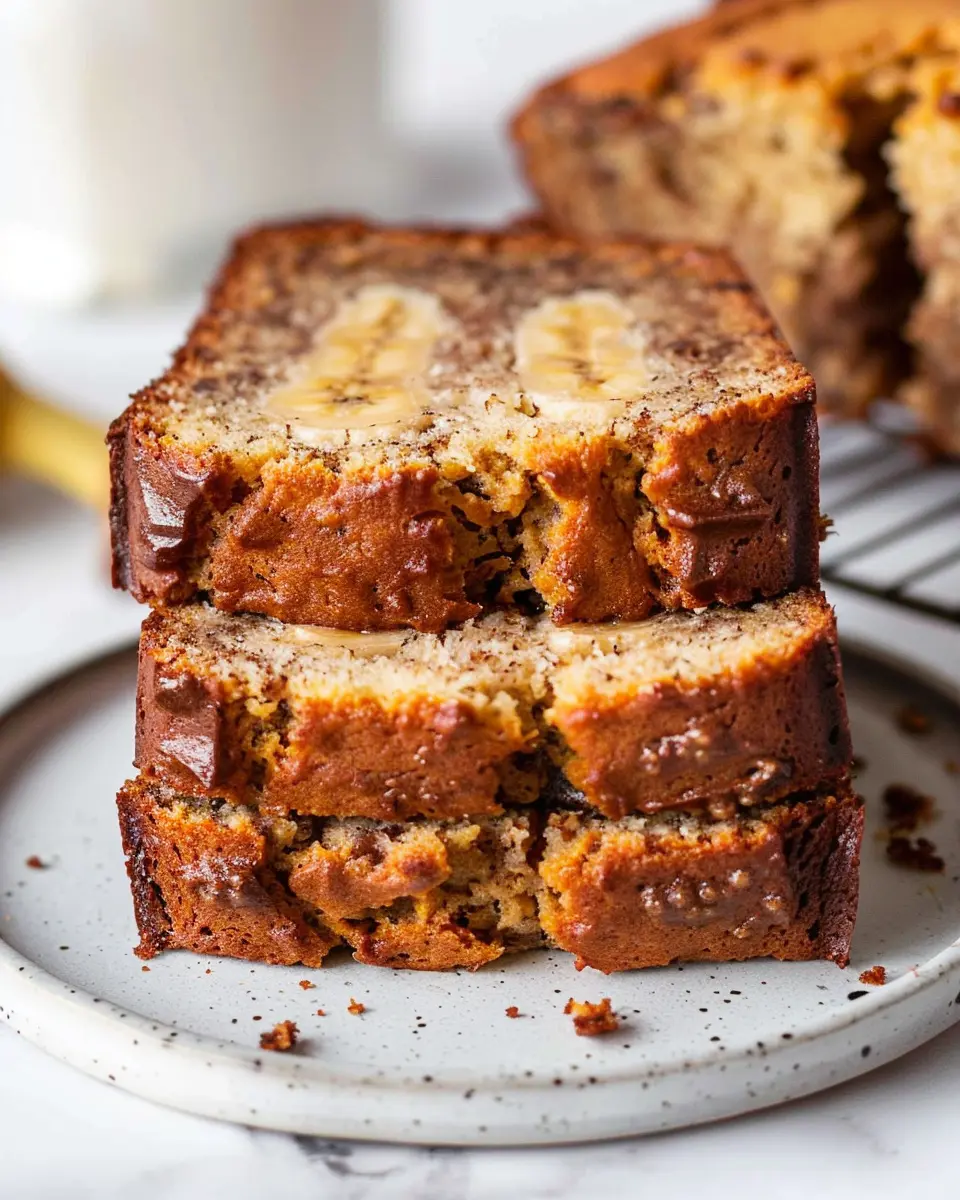
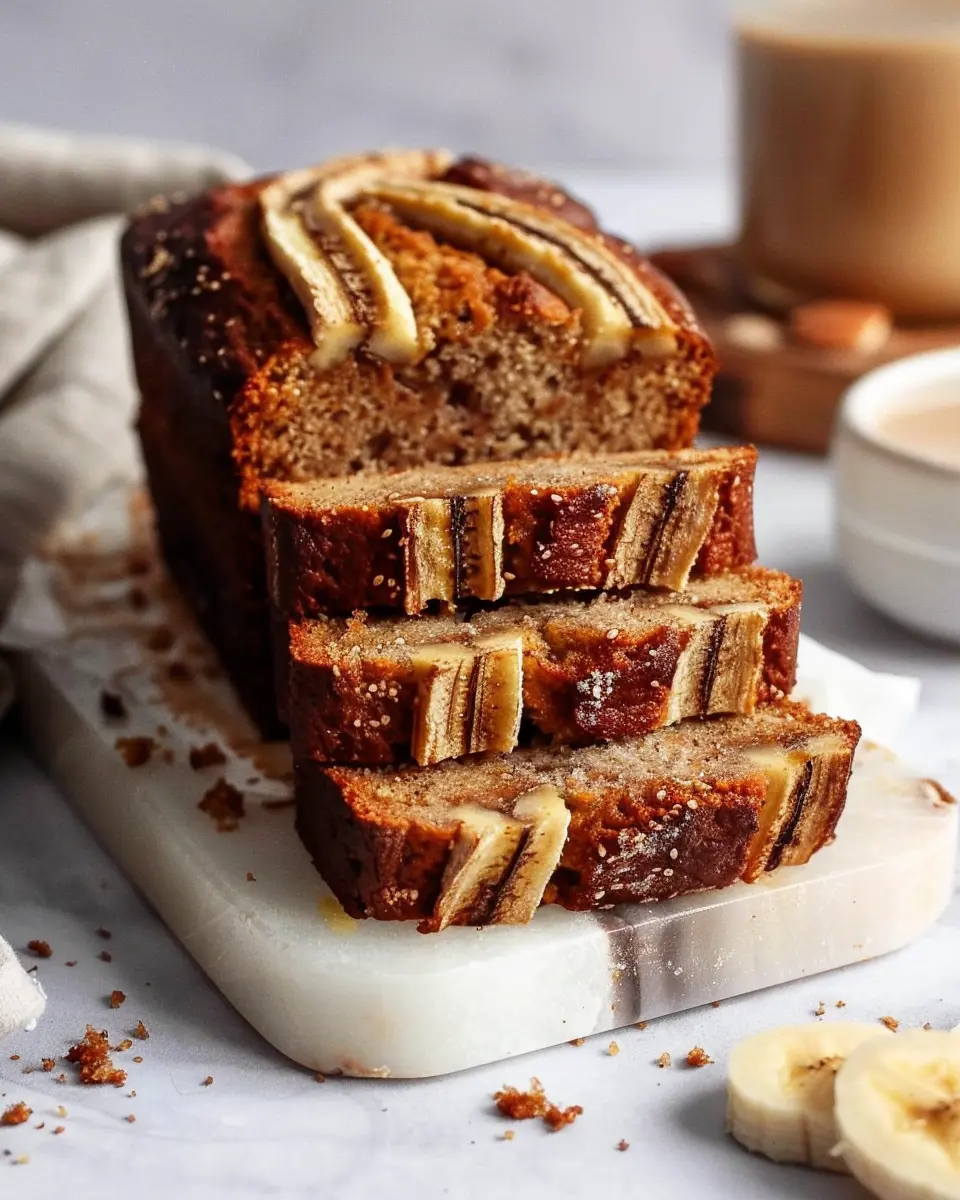
Variations on Homemade Bread
Transforming your homemade bread baking experience can be a delightful journey. Let’s explore some creative variations that can elevate your loaf game.
Elevate with Herb-infused Homemade Bread
Imagine walking into your kitchen as the warm scent of freshly baked homemade bread fills the air. With just a few simple additions, you can infuse your bread with delightful herbs. Consider mixing in dried oregano, rosemary, or thyme into your dough. You can use fresh herbs too! To really pack in that flavor, simply chop them finely and fold them in during the kneading process. For a delicious kick, check out this herb guide for pairing suggestions.
Cheesy Garlic Twists
For those who seek a savory twist, how about creating a cheesy garlic version of your homemade bread? Before baking, brush your rolled-out dough with a mixture of melted butter, minced garlic, and shredded cheese, such as mozzarella or cheddar. Then, slice and twist the dough to create spirals that will be bursting with flavor! Your guests will be begging for the recipe; it’s that good.
Seed-topped Homemade Bread
Finally, let’s go healthy with an assortment of seeds. Topping your homemade bread with sesame, poppy, or sunflower seeds not only adds a delightful crunch but also packs in nutritional benefits. Seeds are rich in vitamins and minerals, making your bread not just tasty but also nutritious. You might want to check out this nutrition resource for more on the benefits of seeds.
Incorporating these variations not only keeps your homemade bread exciting but will also impress anyone lucky enough to share a slice with you. Enjoy experimenting!
Cooking Tips and Notes for Homemade Bread
Common Mistakes to Avoid
When venturing into the world of homemade bread, there are a few pitfalls to sidestep. First, ensure you’re measuring flour properly; using too much can lead to dense loaves. It’s also tempting to skip the kneading, but this step is crucial for developing gluten, which gives bread its delightful texture. Lastly, don’t rush the rising process—give your dough the time it needs to become light and fluffy.
Essential Tools for Bread Making
To elevate your homemade bread experience, having the right tools is key:
- Mixing Bowl: A large, sturdy bowl for mixing and kneading.
- Measuring Cups and Spoons: Accurate measurement leads to consistent results.
- Oven Thermometer: Ensures your oven is at the correct temperature for baking.
- Baking Sheet or Loaf Pan: A non-stick option is great for easy removal.
Before you start, check out The Kitchn’s Bread Basics for some insightful pointers! With these tips and tools, making bread at home can be both fun and rewarding. Happy baking!
Serving Suggestions for Homemade Bread
When it comes to enjoying your homemade bread, the possibilities are endless! Here are some delightful serving suggestions to elevate your bread experience.
Best spreads and toppings
Start with a solid foundation. A warm slice of homemade bread is perfect for a variety of spreads. Consider:
- Chilled herbed butter: Mix softened butter with fresh herbs for a gourmet touch.
- Avocado smash: Creamy avocados seasoned with salt, pepper, and lime juice add healthy fats and flavor.
- Hummus or tzatziki: Pair with your favorite dips for a Mediterranean twist.
- Nut butters: Almond or peanut butter, topped with a drizzle of honey, makes for a satisfying snack.
Pairing with soups and salads
This is where your homemade bread can shine! It’s the ideal partner for comforting soups and crisp salads. Think about:
- Tomato basil soup: The perfect complement as you dip or savor each bite.
- Chicken salad: Serve as a wrap or on the side for a hearty meal.
- Beef chili: A slice of robust bread can soak up the rich flavors beautifully.
For more ideas, you may find inspiration at Food & Wine or check out Bon Appétit for suggestions that can pair well with your creations. Enjoy exploring!
Time Breakdown for Homemade Bread
Preparation Time
Making homemade bread is a breeze! The preparation will take about 10 minutes. This includes gathering your ingredients and mixing them together. If you’re new to bread-making, don’t worry—it’s all about simplicity. You’re likely already familiar with basic kitchen tasks, so this will feel like a breeze.
Baking Time
While the dough rises, which takes about 5 minutes, your oven should be preheating. Once your dough is ready, it will bake for roughly 25 minutes. Just enough time for a quick cleanup or to sip your favorite coffee.
Total Time
From start to finish, you can have warm homemade bread in about 35 minutes. Can you believe it? Quick, simple, and oh-so-satisfying. In a hurry or just looking to impress? Perfect! With just a bit of attention, your freshly baked delight will be ready before you know it.
If you’re curious about troubleshooting tips or learning more about yeast, check out this helpful guide on baking bread for more expert insights. Happy baking!
Nutritional Facts for Homemade Bread
When whipping up a loaf of homemade bread, it’s not just about savoring the comforting aroma that fills your kitchen; understanding its nutritional profile can elevate your baking game.
Calories
A typical slice of homemade bread contains around 80-100 calories, depending on the ingredients used. This gives you a satisfying base for your favorite toppings while letting you control your caloric intake.
Fiber Content
One of the perks of making homemade bread is the ability to boost fiber content. By incorporating whole grains or seeds, you can increase fiber to about 2-3 grams per slice, promoting digestive health and keeping you fuller longer.
Sugar Levels
When baking your own bread, you can manage sugar levels effectively. Most recipes call for minimal sugar, often around 1-2 grams per slice, which is significantly lower than store-bought options that may contain added sugars.
For more nutritional insights, check out the USDA’s FoodData Central for detailed breakdowns. This empowers you to create a loaf that not only delights your taste buds but also meets your health goals.
FAQs about Homemade Bread
What can I do if my bread doesn’t rise?
If your homemade bread isn’t rising, don’t panic! The most common reasons are expired yeast or not enough warmth. Check the expiration date on your yeast packet; fresh yeast is key for a good rise. Additionally, ensure your environment is warm enough; dough likes to rise in cozy conditions. A tip? Try placing your dough in a slightly warmed oven (turned off) or near a sunny window. If all else fails, you might consider checking out resources from the King Arthur Baking Company for troubleshooting tips.
How should I store homemade bread?
Storing your homemade bread properly can extend its shelf life significantly. After your bread has cooled, wrap it in plastic wrap or place it in an airtight bag to keep it soft. For longer storage, consider freezing slices; this way, you can defrost only what you need. According to research by the USDA, bread can last several months in the freezer without losing too much quality. Just be sure to let it thaw completely before enjoying!
Can I make homemade bread with whole wheat flour?
Absolutely! Whole wheat flour can impart a richer, nutty flavor to your homemade bread. Keep in mind that whole wheat flour absorbs more water, so you might need to adjust your liquid content slightly. Many home bakers start with a blend of all-purpose and whole wheat flour to find the perfect balance. If you’re looking for more information on baking with whole grains, check out the Whole Grains Council. Enjoy your baking adventure!
Conclusion on Homemade Bread
Embracing the Joy of Homemade Bread in Your Kitchen
There’s something incredibly satisfying about creating homemade bread in your own kitchen. In just 20 minutes, you can enjoy the aroma of freshly baked goodness and the taste that store-bought loaves simply can’t compete with. Making your own bread allows for endless customization; whether you prefer a hearty whole grain or a soft, buttery loaf, the choice is yours!
Think about the fun you’ll have experimenting with flavors—maybe adding herbs, seeds, or even some roasted veggies! This simple process can turn your kitchen into a haven of creativity while nourishing your body and soul. So why wait? Dive in and start your homemade bread journey today! For more inspiration, check out resources like King Arthur Baking and Food52.
PrintHomemade Bread in Just 20 Minutes: Easy Fresh Loaves for Everyone

Learn how to make delicious homemade bread in just 20 minutes. Perfect for anyone looking to enjoy fresh loaves without the lengthy process.
- Prep Time: 5 minutes
- Cook Time: 25 minutes
- Total Time: 30 minutes
- Yield: 1 loaf 1x
- Category: Baking
- Method: Baking
- Cuisine: American
- Diet: Vegetarian
Ingredients
- 3 cups all-purpose flour
- 1 tablespoon sugar
- 1 tablespoon salt
- 1 tablespoon active dry yeast
- 1 cup warm water
Instructions
- In a bowl, mix warm water, sugar, and yeast. Let it sit for 5 minutes to activate.
- In a separate bowl, combine flour and salt.
- Pour the yeast mixture into the flour mixture and combine to form a dough.
- Knead the dough for 5 minutes on a floured surface.
- Place the dough in a greased bowl and cover. Let it rise for 10 minutes.
- Shape the dough into a loaf and place it in a greased bread pan.
- Bake in a preheated oven at 375°F (190°C) for 25 minutes.
Notes
- For a fluffier loaf, let the dough rise for longer if time allows.
- Add herbs or spices to the dough for added flavor.
Nutrition
- Serving Size: 1 slice
- Calories: 120
- Sugar: 1g
- Sodium: 200mg
- Fat: 1g
- Saturated Fat: 0g
- Unsaturated Fat: 1g
- Trans Fat: 0g
- Carbohydrates: 24g
- Fiber: 1g
- Protein: 4g
- Cholesterol: 0mg
Keywords: Homemade Bread in Just 20 Minutes