Introduction to Marbled Sugar Cookies
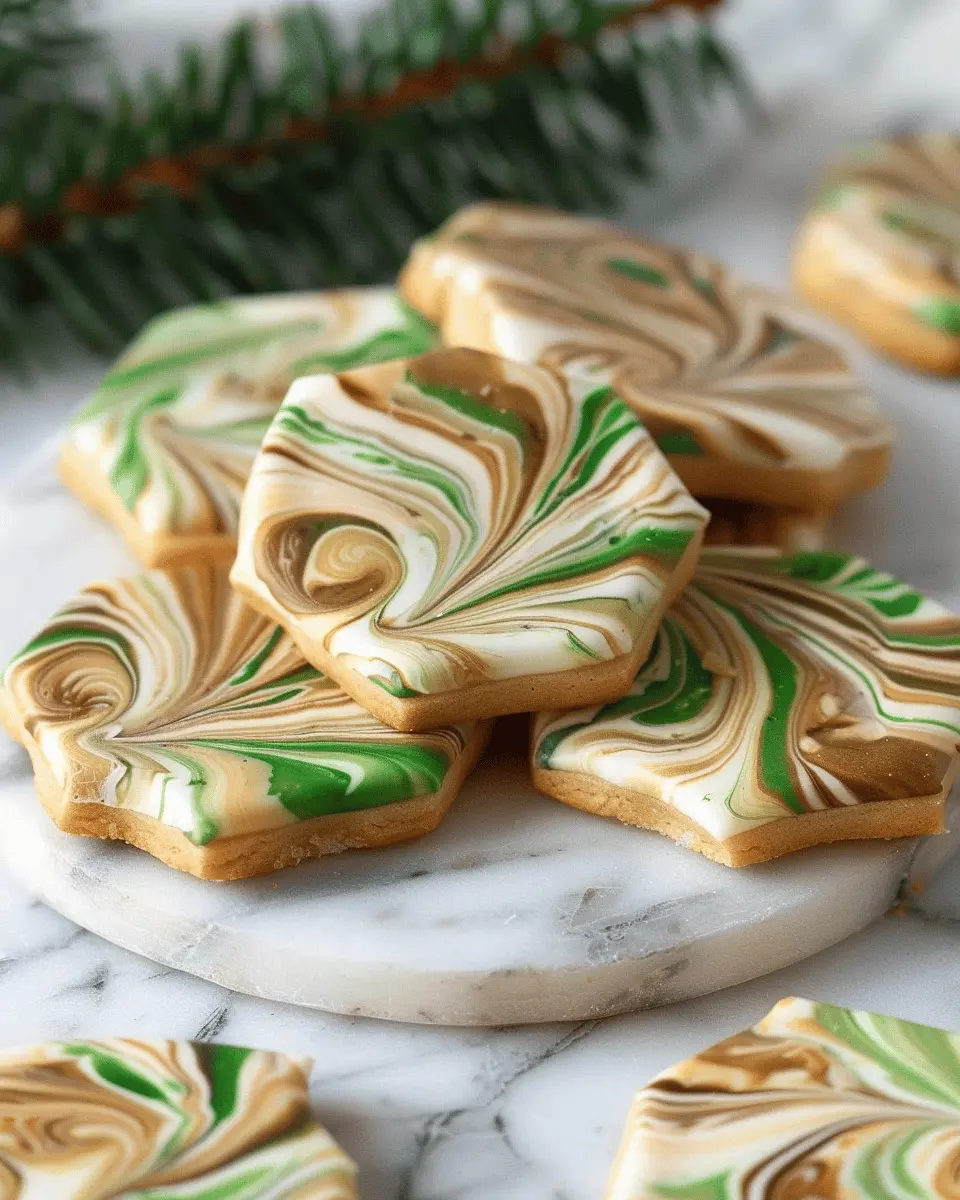
Baking can be a delightful venture, especially when it yields cookies that not only taste amazing but also look stunning. Marbled sugar cookies are the perfect example of this, combining simplicity and artistic flair into one delicious treat. Imagine biting into a soft, buttery cookie that has beautiful swirls of color and flavor, making them a feast for both the eyes and the palate.
Why Marbled Sugar Cookies are a Must-Try
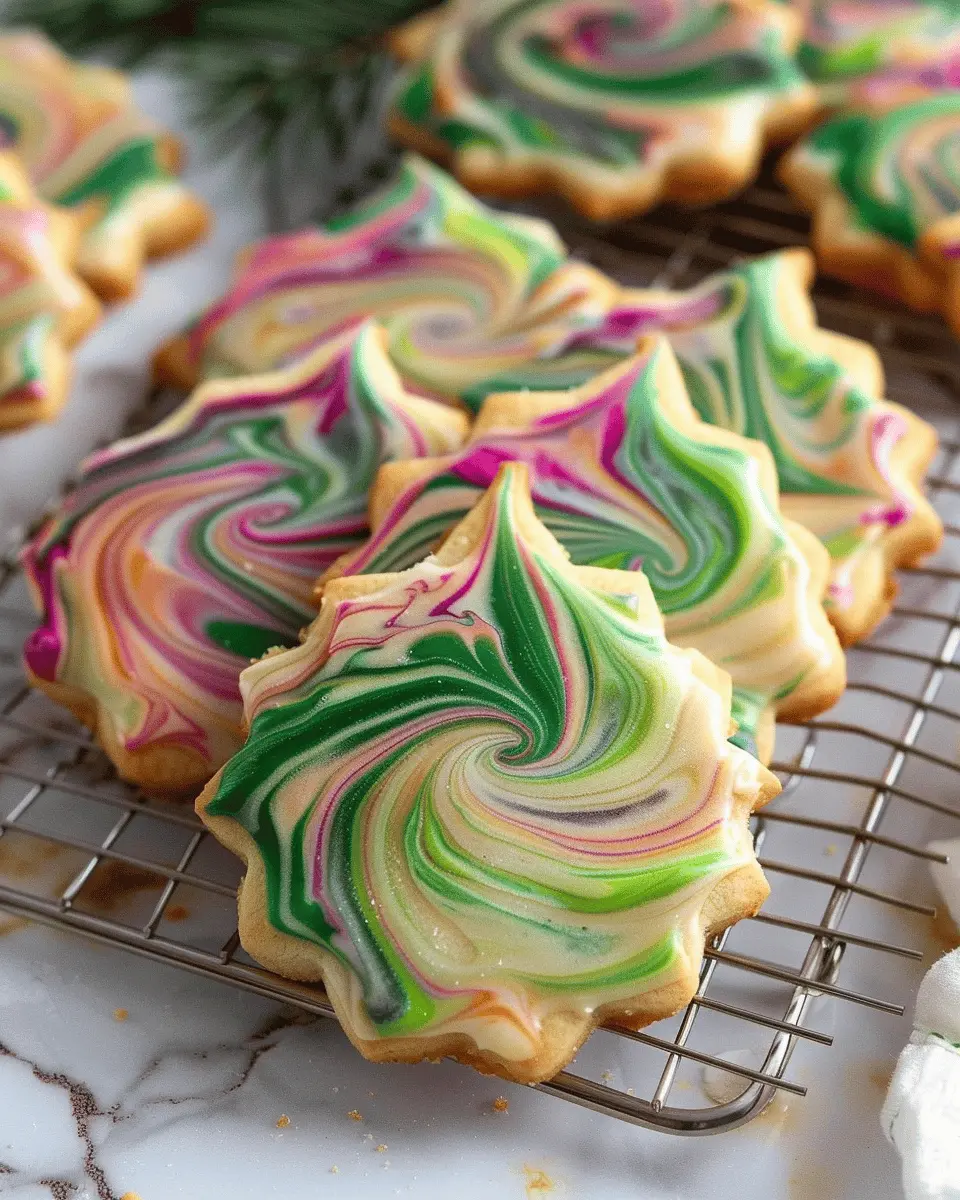
So, what makes these dreamy cookies a must-try? First off, the visual appeal is off the charts! The marbled effect gives a sense of artistry, making them perfect for celebrations or simply as a treat to brighten up your day. Plus, the method of creating the marble effect is surprisingly easy! You don’t need to be a master baker; a swirl of your preferred colors will have everyone guessing how you got that beautiful finish.
In your kitchen, there’s an opportunity to play with colors and flavors. You can stick to classic options such as vanilla and chocolate or explore other combinations that excite your senses. For some inspiration, you can check out The Spruce Eats for more ideas on cookie flavors to complement your marbling technique.
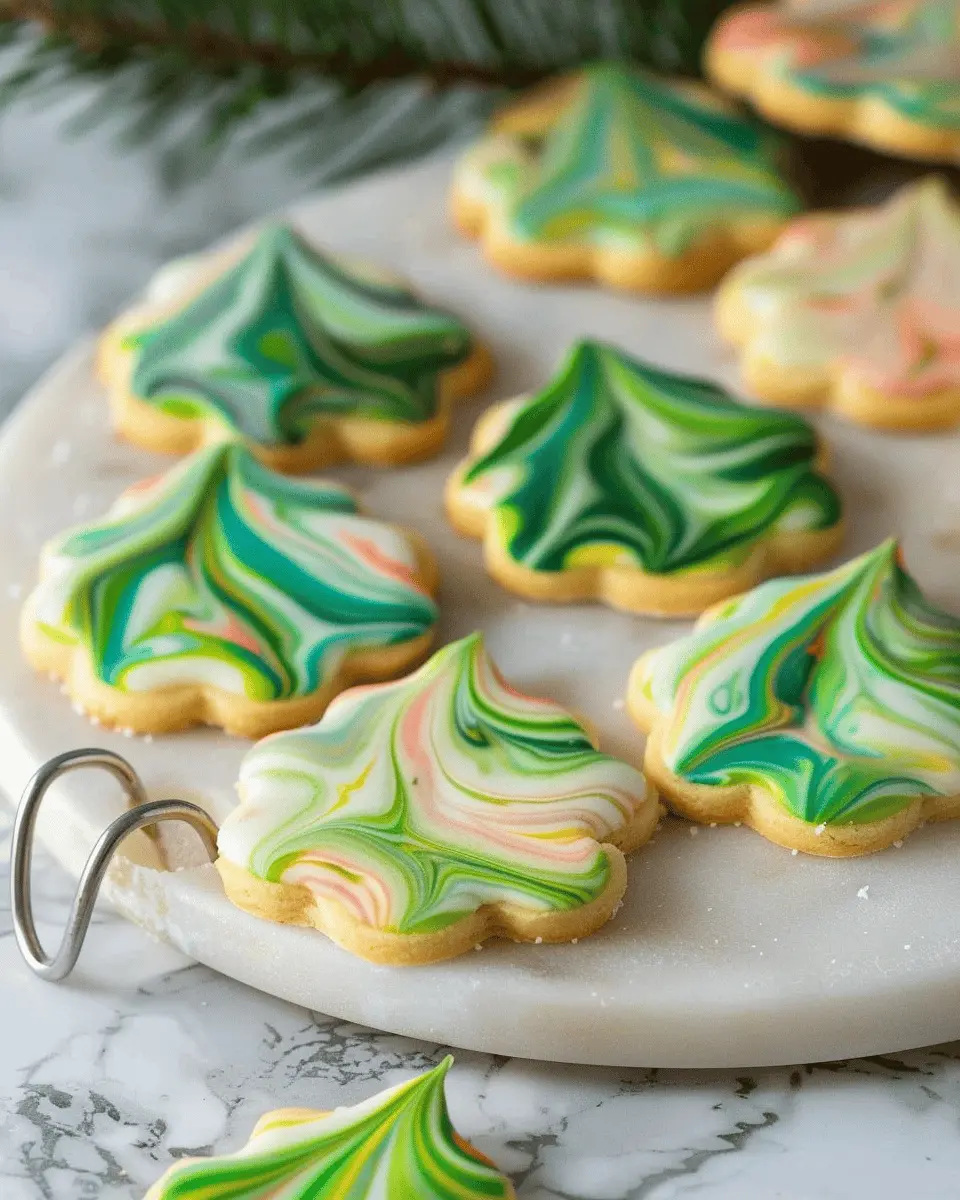
Another aspect that stands out with marbled sugar cookies is their versatility. They can be customized to match any occasion. For instance, pastel colors for spring, warm shades for autumn, or festive colors during the holidays. This versatility makes them a fun baking project year-round.
Finally, let’s not forget about sharing. These cookies are a fantastic treat to bring to gatherings. The moment you present a plate of marbled sugar cookies, you’ll garner admiration and instant interest. You can bet your friends will be clamoring for the recipe! And who knows, they might even ask if you’re willing to lead a casual cookie-making workshop.
In a world increasingly driven by the mundane, marbled sugar cookies are a charming reminder that a little creativity can bring joy. Get ready to dive into the recipe and wow your family and friends with this delightful cookie creation!
Ingredients for Marbled Sugar Cookies
Creating the perfect marbled sugar cookies is about balancing flavors and textures while also having fun in the kitchen! Let’s break down the essential components you’ll need.
Essential ingredients for the cookies
For the cookie base, you’ll want to gather these simple yet crucial ingredients:
- All-purpose flour
- Granulated sugar
- Unsalted butter (softened)
- Eggs
- Baking powder
- A pinch of salt
These ingredients come together to give your marbled sugar cookies their delightful texture and sweetness. The combination of butter and sugar is the foundation of any great cookie, enabling the perfect blend of chewy and crisp.
Key ingredients for the marbled icing
Now, let’s discuss what you’ll need to create that beautiful marbling effect on top:
- Powdered sugar
- Milk (or a dairy-free alternative)
- Vanilla extract
- Food coloring (your choice of vibrant colors)
This icing not only adds an eye-catching twist but also enhances the overall flavor of your marbled sugar cookies. By mixing your colors in a swirling motion, you’ll achieve that gorgeous marble effect that’s sure to impress!
For additional insights, check out resources on mixing techniques from Baking America or discover more about cookie decorating in The Spruce Eats. Happy baking!
Step-by-step Preparation of Marbled Sugar Cookies
If you’re in the mood to impress with a delightful twist on a classic, then marbled sugar cookies are the way to go. These cookies combine buttery sweetness with an eye-catching marbled design that will have your friends and family asking for the recipe. Let’s break down the preparation into simple steps, ensuring you sweeten your day with minimal fuss.
Cream the butter and cream cheese
Start by taking 1 cup of unsalted butter and 4 ounces of cream cheese out of the fridge. Allow them to soften for about 30 minutes at room temperature. Once they are soft, combine both in a large mixing bowl. Using a hand mixer or a stand mixer, beat the mixture on medium speed until it’s light and fluffy, usually around 2 to 3 minutes. This step is crucial—creaming butter and cream cheese well creates a light texture that will keep your cookies airy and delicious.
Mix in the sugars and egg
Next up, it’s time to incorporate ¾ cup of granulated sugar and ¾ cup of brown sugar into the creamy mixture. Beat until well combined, and then add 1 large egg and 1 teaspoon of vanilla extract. Mix everything together until smooth. This is where the sweetness starts to come together beautifully! You might be tempted to eat the batter at this stage—don’t worry; I won’t judge!
Combine dry ingredients
In a separate bowl, whisk together 2 ½ cups of all-purpose flour, ½ teaspoon of baking soda, and ½ teaspoon of salt. Gradually add this dry mixture to your wet ingredients, stirring gently until fully incorporated. Be careful not to overmix; you want to maintain that tender texture. If you’re looking for a bit of expertise on baking techniques, check out resources like King Arthur Baking for valuable tips.
Chill the dough
To get the best results when baking your marbled sugar cookies, refrigerate your dough. Wrap it in plastic wrap and chill it in the refrigerator for at least one hour. This helps the flavors meld and solidifies the fats in the dough, making it easier to handle when rolling out.
Roll out and cut the cookies
Once the dough is chilled, preheat your oven to 350°F (175°C). On a floured surface, take half of the dough and roll it out to about ¼ inch thick. Use your favorite cookie cutters to create fun shapes! Repeat with the second half of the dough. You can even create a marbled effect by taking pieces of the different colored doughs and swirling them together gently before rolling.
Bake the cookies
Lay your cookies on a parchment-lined baking sheet, spacing them about 2 inches apart. Bake in your preheated oven for 8-10 minutes, or until the edges are lightly golden. Keep an eye on them; overbaking can lead to a tough texture! They’ll be soft when they come out, but they will firm up as they cool.
Prepare the royal icing
As your cookies cool, it’s time to whip up some royal icing! In a mixing bowl, combine 2 egg whites (or meringue powder) with 3 cups of powdered sugar. Beat until the mixture reaches a thick and glossy consistency. Fun fact: the right texture is critical for decorating; it should hold peaks but still be spreadable!
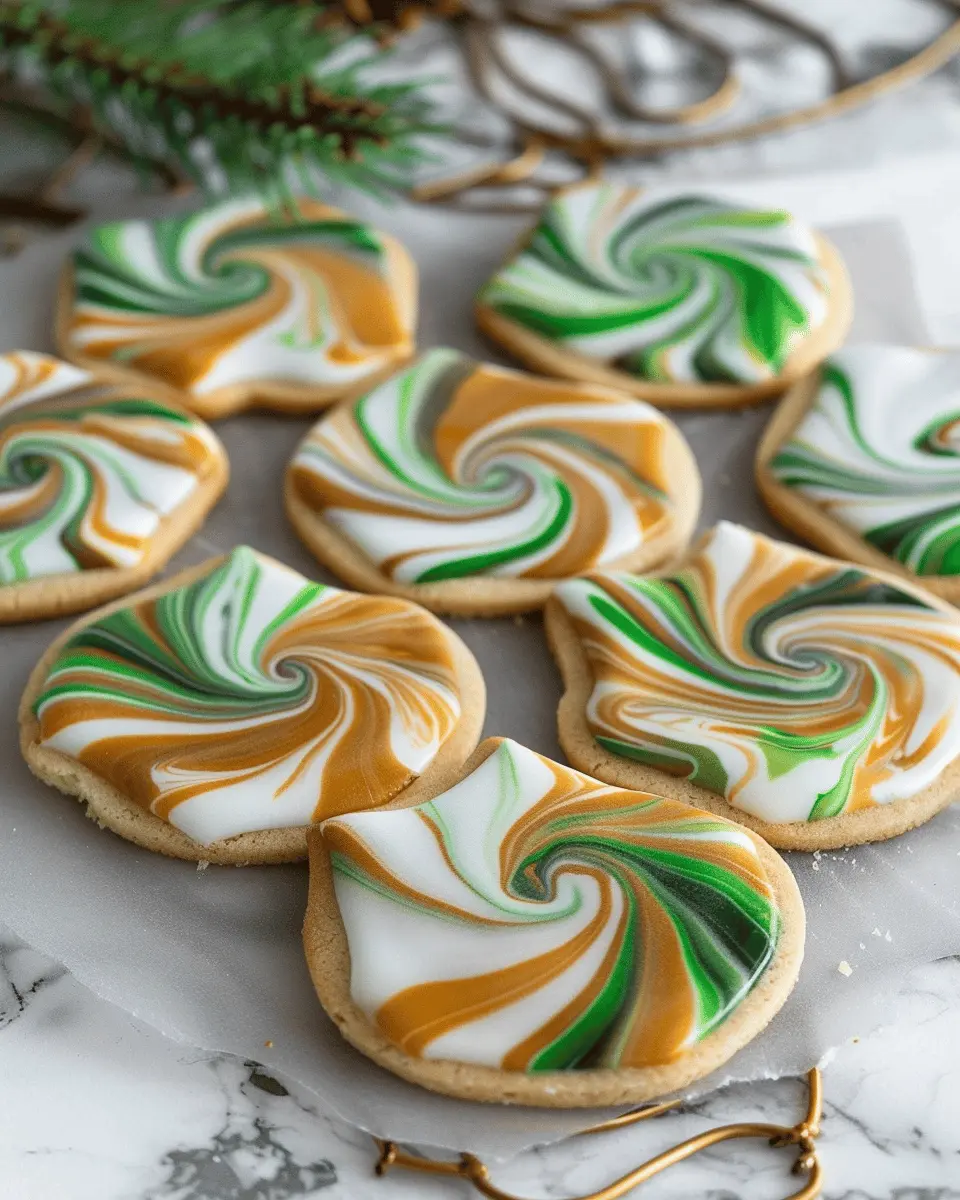
Color and marble the icing
Divide the icing into a few bowls and add food coloring of your choice. For a gorgeous marble effect, use a toothpick to swirl small amounts of different colors. This technique creates a unique design for each cookie, allowing your creativity to shine. I often find inspiration on baking blogs for new techniques—there are endless possibilities!
Decorate the cookies
Now comes the fun part—decorating! Use piping bags to expertly apply your royal icing on the cooled cookies. Feel free to get creative! You can outline them, fill them in, and even add sprinkles for that extra pop.
And there you have it! With these marbled sugar cookies, you not only have a delicious treat but also a delightful project to share. Enjoy the process and watch your friends’ faces light up with every bite!
Variations on Marbled Sugar Cookies
Creating marbled sugar cookies can be a delightful way to experiment with flavors and themes, especially for special occasions. Here are some fun variations to elevate your cookie game!
Seasonal Marvels
Seasonal marbled cookies are a fantastic way to celebrate holidays and change up your baking routine. For Valentine’s Day, consider incorporating shades of pink and red by adding a hint of cherry or strawberry extract. Halloween calls for spooky colors—think purples, greens, and oranges mixed with flavors like pumpkin spice or black cherry. You could also swap out your regular sprinkles for themed ones, creating a visual delight! Check out resources like Food Network for even more seasonal ideas.
Flavored Icing Delight
If you want to really amp up those marbled sugar cookies, consider using flavored icing to complement the cookie base. A light lemon glaze or almond-flavored icing can enhance the overall taste experience. Plus, you can create a marbled effect with the icing itself! Simply do a little swirl on top once your cookies cool. Some bakers swear by the addition of extracts like hazelnut or vanilla to give a unique twist.
To master your icing skills, you might want to look at tutorials on platforms like YouTube, where many seasoned bakers share their expertise.
Incorporating these variations not only makes your marbled sugar cookies visually appealing but also elevates their flavor profiles, making each batch a delightful surprise for your taste buds or a charming gift for loved ones!
Baking Notes for Marbled Sugar Cookies
Important tips for soft cookies
To achieve perfectly soft marbled sugar cookies, start with room temperature ingredients. This ensures everything mixes evenly, leading to a tender texture. Here are a few essential tips:
- Cream your butter and sugar well: This creates air pockets for fluffiness.
- Don’t overmix the dough: Overmixing can lead to tough cookies. Mix just until combined.
- Chill the dough: Refrigerating it for at least an hour helps to solidify the butter, preventing the cookies from spreading too much during baking.
Best practices for icing consistency
When it comes to decorating your marbled sugar cookies, the right icing consistency can make all the difference. You’ll want a smooth, floodable icing for an even appearance:
- Aim for a “10-second rule”: Icing should flow smoothly but hold its shape. When you stir the icing, it should settle back into place within about ten seconds.
- Add water little by little: It’s easier to thin icing than to thicken it, so take your time.
For more on icing techniques, consider checking out Wilton, a trusted resource for baking enthusiasts. Happy baking!
Serving Suggestions for Marbled Sugar Cookies
When it comes to enjoying your marbled sugar cookies, think beyond the plate! Here are some delightful serving suggestions that will elevate your cookie experience.
Pairing with Beverages
The right drink can transform your cookie enjoyment. Here are a few refreshing ideas:
- Herbal Tea: A calming chamomile or a fruity hibiscus tea can complement the sweetness of your cookies beautifully.
- Iced Coffee: A dash of cream in your iced coffee pairs well with the buttery notes of the cookies.
- Milk Alternatives: Almond or oat milk provides a delicious alternative, adding a hint of nuttiness that contrasts nicely with the cookie’s flavors.
Creative Presentation Ideas
Presentation can turn an ordinary cookie platter into an Instagram-worthy spread! Consider these tips:
- Use Colorful Plates: Select plates that enhance the vibrant marbling of your marbled sugar cookies. Bright colors or elegant porcelain can add flair.
- Decorate with Sprinkles: A sprinkle of edible glitter or colored sugar on top elevates the visual appeal.
- Cookie Stands: Arrange your cookies on tiered stands to create a stunning display for guests or special occasions.
Check out Cookie Decorating Ideas to enhance your serving style!
With these suggestions, you’re set to impress at any gathering or simply enjoy a cozy evening at home. Happy baking!
Cooking Tips and Notes for Marbled Sugar Cookies
Don’t rush the chilling process
Patience is key when crafting those beautiful marbled sugar cookies. After mixing your dough, be sure to let it chill in the refrigerator for at least an hour. Chilling firms up the butter, making it easier to handle and allowing the flavors to meld. If you skip this step, you might end up with cookies that spread too much, losing that lovely marbled effect you’ve worked so hard to achieve.
Avoid overbaking your cookies
Keeping an eye on your cookies as they bake is crucial. Remove your marbled sugar cookies from the oven when they are just set and slightly golden around the edges. They will continue to cook on the baking sheet as they cool, so take them out a minute or two earlier than you might think. Overbaking can lead to dry cookies that lack that soft, chewy texture everyone loves.
Keep icing covered while working
As you prepare your icing for decorating, remember that it can dry out quickly. Keep the icing covered with a damp cloth or plastic wrap when not in use. This simple step will prevent crusting, allowing for a smoother application on your marbled sugar cookies. Plus, you’ll maintain that vibrant, beautiful finish!
For additional tips, check out the American Baking Guild for inspiration and technique improvements as you master your baking skills!
Time Breakdown for Marbled Sugar Cookies
Preparation time
Making marbled sugar cookies is a breeze! You’ll need about 25 minutes to gather all your ingredients, mix the dough, and create that beautiful marbled effect. Don’t rush—allow yourself to enjoy the process!
Baking time
Once your dough is ready, it’s time to bake. Set your oven to 350°F (175°C) and let your cookies bake for 10-12 minutes. Keep an eye on them; you want that perfect golden edge while ensuring the center stays delightfully soft.
Additional cooling and decorating time
After baking, let your cookies cool for at least 15 minutes on a wire rack. If you’re feeling creative, add icing or sprinkles! Allow extra time for this so you can indulge in all the endless possibilities. Your marbled sugar cookies will not only taste amazing but also look like a work of art!
For extra tips on baking times and tweaks on cookie textures, check out this expert guide. Happy baking!
Nutritional Facts for Marbled Sugar Cookies
When indulging in marbled sugar cookies, it’s good to know what you’re treating yourself to! Each cookie typically contains around 120 calories. While these delightful treats are perfect for satisfying your sweet tooth, understanding their key nutritional components will help you enjoy them guilt-free.
Calories per cookie
- Approximately 120 calories
Key nutritional components
- Fats: Each cookie has about 5 grams of fat, primarily from butter.
- Carbohydrates: With around 18 grams, these cookies provide a quick energy boost.
- Sugars: Expect about 8 grams of sugar per cookie, adding to that sweet flavor.
- Protein: A modest 1.5 grams, contributing to the overall texture.
By enjoying these marbled sugar cookies mindfully, you can savor their sweetness while keeping your nutritional goals in check. For more on cookie wellness, check out the USDA’s dietary guidelines.
FAQ about Marbled Sugar Cookies
Can I use different extracts?
Absolutely! One of the beautiful aspects of marbled sugar cookies is their versatility. While vanilla extract is the classic choice, feel free to experiment with other flavors. Almond, lemon, or even peppermint extracts can add a unique twist to your cookies. Just remember, extracts can be potent, so start with half the amount of what the recipe calls for and adjust to your taste.
How do I store leftover cookies?
Storing your marbled sugar cookies properly will keep them fresh and delicious. Here’s how to do it:
- Room Temperature: Place your cookies in an airtight container and store them at room temperature for up to a week. Adding a slice of bread can help absorb moisture and keep them softer for longer.
- Refrigeration: If you prefer your cookies chilled, they can be kept in the fridge. Just ensure they are well-covered to prevent absorbing other odors.
What is the best way to freeze cookie dough?
Freezing dough is a straightforward way to enjoy fresh cookies anytime! Here’s a simple method:
- Chill the Dough: Allow the dough to rest in the fridge for about 30 minutes before freezing. This helps maintain its structure.
- Portion it Out: Roll the dough into balls or flatten it into discs and place them on a baking sheet lined with parchment paper.
- Freeze: Once they are frozen solid (about 1-2 hours), transfer them into freezer bags or airtight containers. This prevents them from sticking together and allows for easy access when you’re ready to bake.
By following these tips, you can ensure your marbled sugar cookies stay fresh and delicious, ready to bring cheer whenever the craving strikes! For more baking tips and tricks, check out resources like King Arthur Baking and The Kitchn for expert advice.
Conclusion on Marbled Sugar Cookies
Making marbled sugar cookies is a delightful way to elevate your baking game. These treats aren’t just visually stunning; they’re also incredibly versatile and easy to whip up, making them perfect for any occasion. Imagine impressing your friends at a gathering or treating yourself to a sweet moment after a busy day.
Beyond their looks and taste, indulging in homemade cookies can be a comforting experience, allowing you to connect with the joy of baking. So, whether you’re drawn in by their stunning design or the chance to create lasting memories, get ready to enjoy a slice of culinary happiness! For more cookie inspiration, check out sources like King Arthur Baking or BBC Good Food.
PrintMarbled Sugar Cookies: The Best Indulgence for Your Sweet Tooth
Indulge in the delightful treat of marbled sugar cookies, perfect for satisfying your sweet cravings.
- Prep Time: 15 minutes
- Cook Time: 12 minutes
- Total Time: 27 minutes
- Yield: 24 cookies 1x
- Category: Desserts
- Method: Baking
- Cuisine: American
- Diet: Vegetarian
Ingredients
- 2 cups all-purpose flour
- 1 cup granulated sugar
- 1/2 cup unsalted butter, softened
- 1 large egg
- 1 tsp vanilla extract
- 1/2 tsp baking powder
- 1/4 tsp salt
- 1/4 cup food coloring
Instructions
- Preheat your oven to 350°F (175°C).
- In a bowl, cream together the softened butter and sugar.
- Add the egg and vanilla, mixing well.
- In another bowl, whisk together the flour, baking powder, and salt.
- Gradually incorporate the dry ingredients into the wet mixture.
- Divide the dough into two bowls and add food coloring to one.
- Swirl the colored dough into the plain dough and shape it into balls.
- Place the cookie dough on a baking sheet lined with parchment paper.
- Bake for 10-12 minutes, or until lightly golden.
- Let cool before serving.
Notes
- For a more vibrant color, use gel food coloring.
- Chill the dough for at least 30 minutes for better shaping.
Nutrition
- Serving Size: 1 cookie
- Calories: 150
- Sugar: 10g
- Sodium: 50mg
- Fat: 7g
- Saturated Fat: 4g
- Unsaturated Fat: 2g
- Trans Fat: 0g
- Carbohydrates: 20g
- Fiber: 0g
- Protein: 1g
- Cholesterol: 30mg
Keywords: Marbled Sugar Cookies